ASOIAF is a game where it’s honestly just so easy to justify or what-if your way into nearly any matchup of characters or factions fighting against each other. In today’s friendly game my Greyjoys featuring Balon the Boss faced off against my pal Fergie’s really similar list featuring Baelor Blacktyde. Would these two have canonically faced one another on the field of battle? Almost certainly not! Does it matter? Fuck no!
Fergie is pretty new to ASOIAF (but not to wargames in general - you can catch him in battle reports on my YouTube channel) and doesn’t have a ton of games under his belt just yet, so we spent a lot of time talking about various options and plays turn to turn, and a fair bit of time discussing the game after we were done that I’m going to kind of replicate here in addition to the play by play that I can remember from the game.
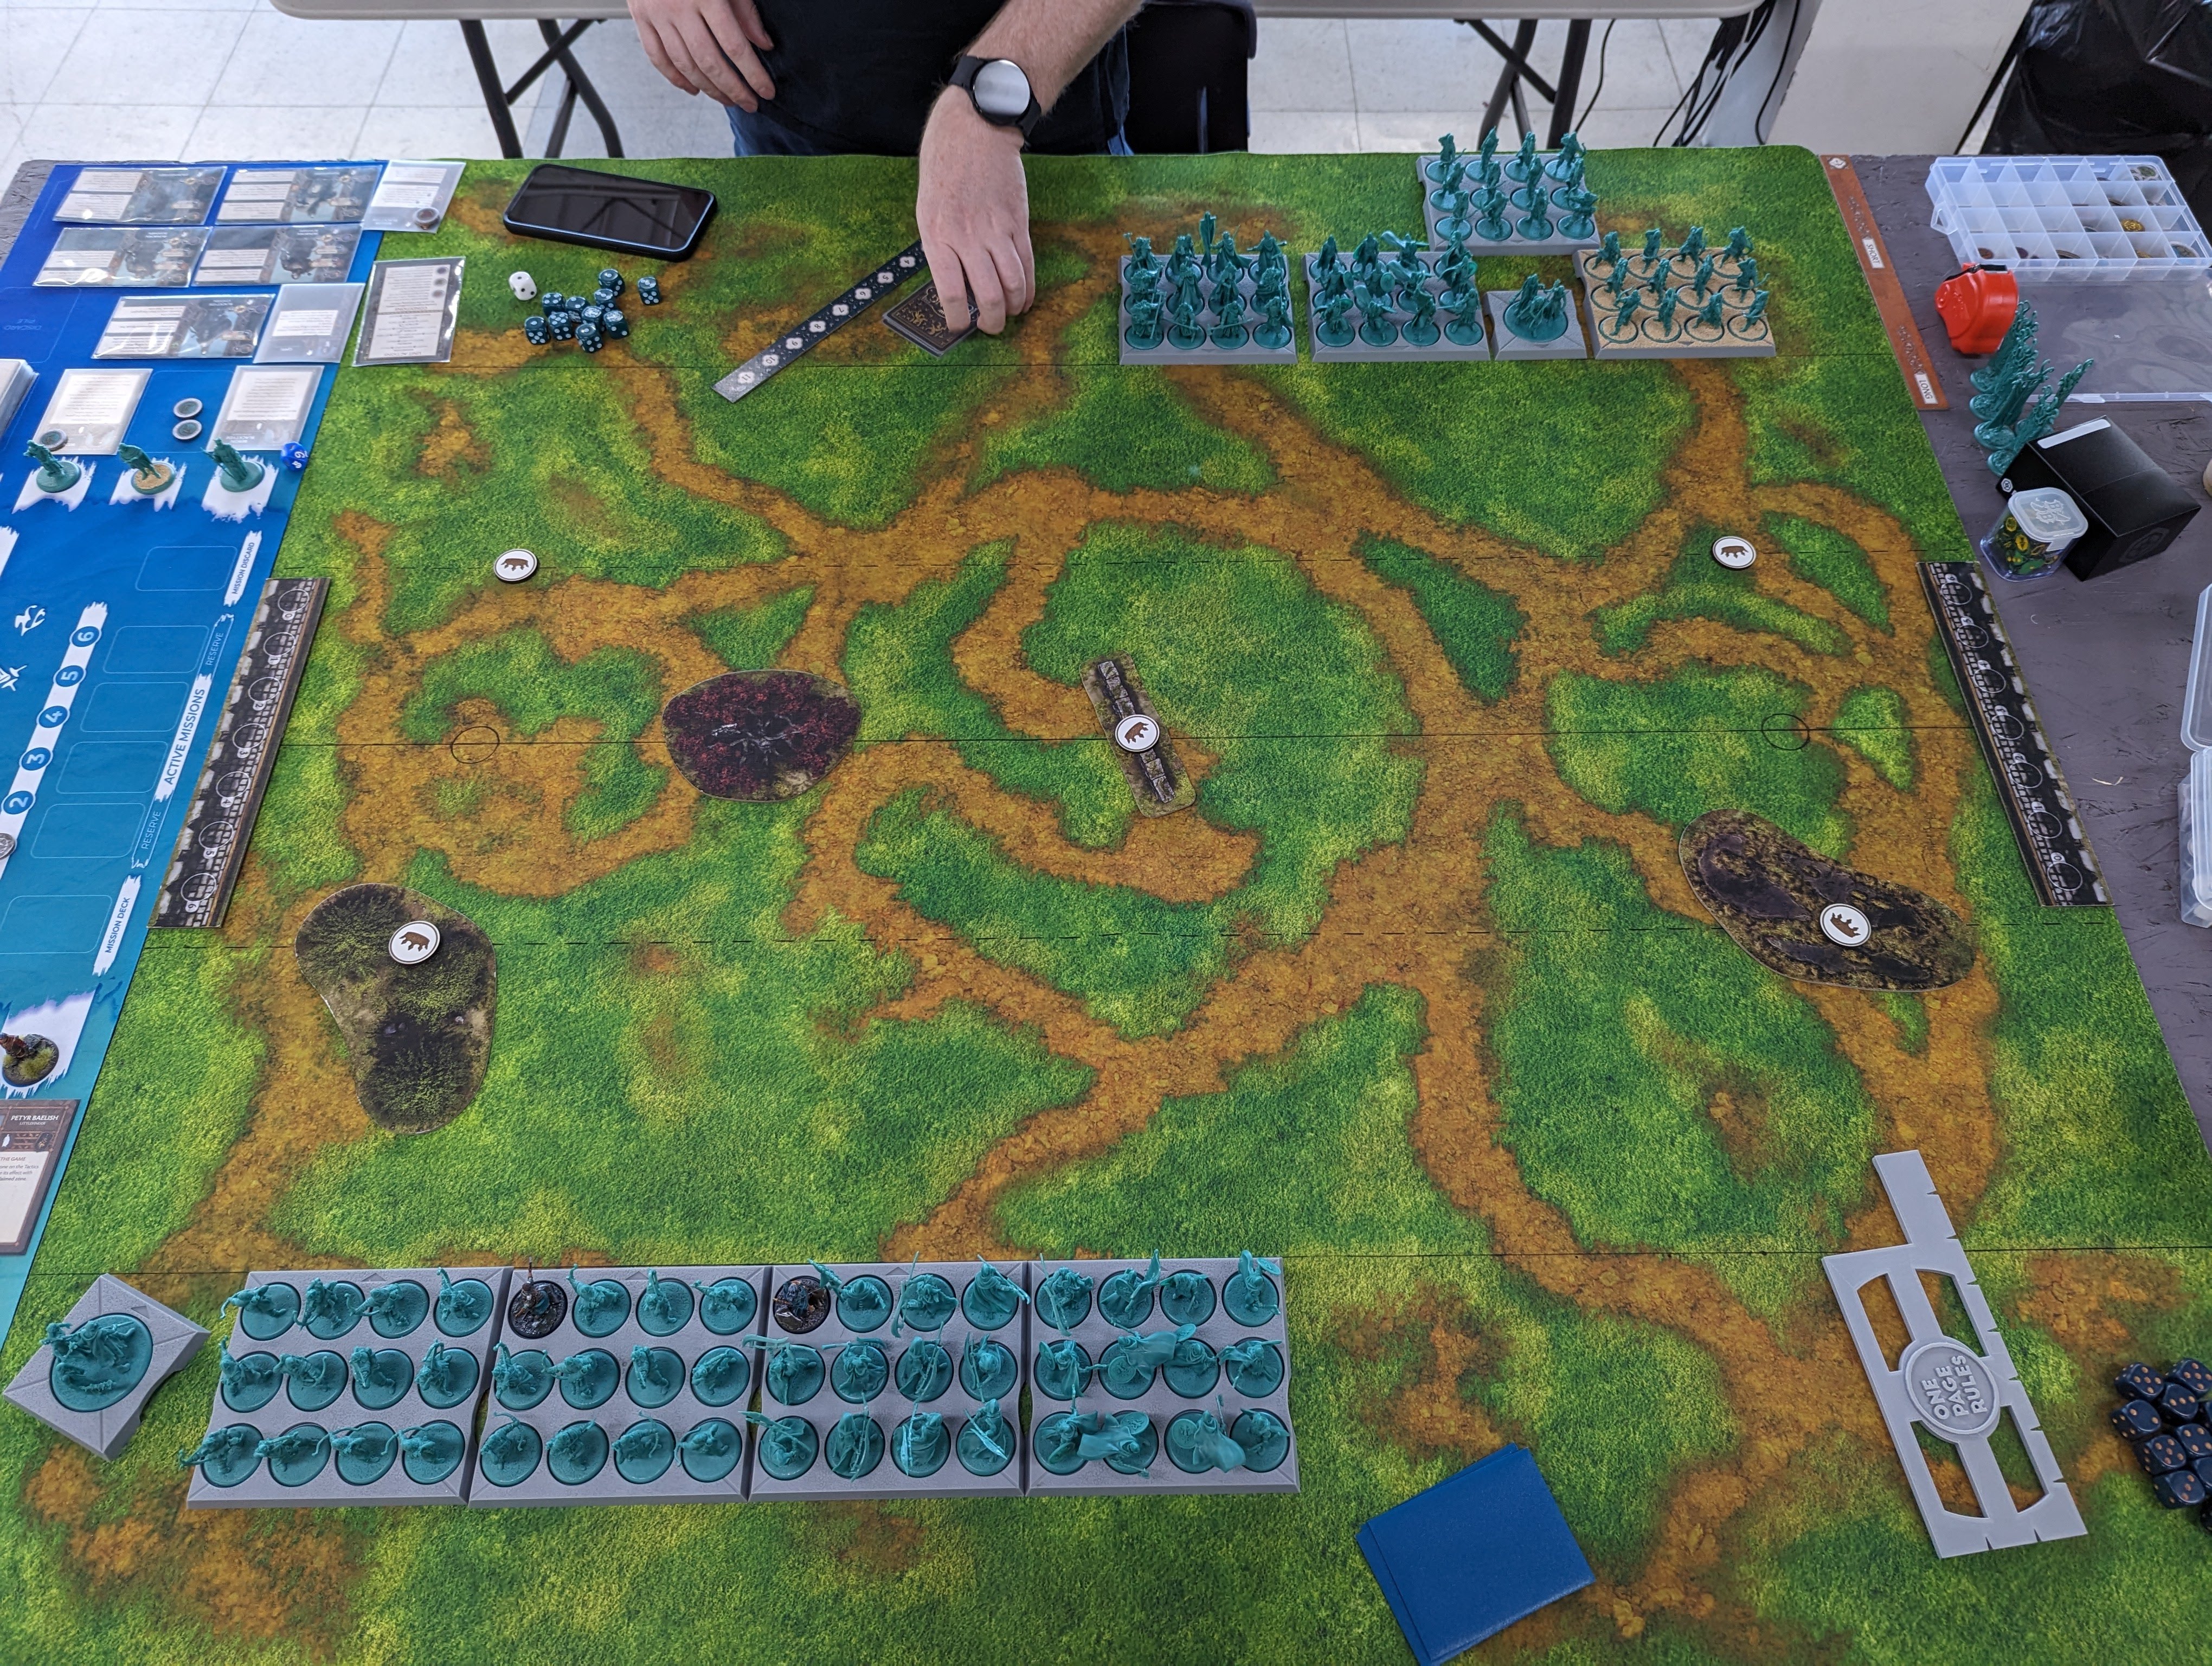
First let’s talk terrain placement:
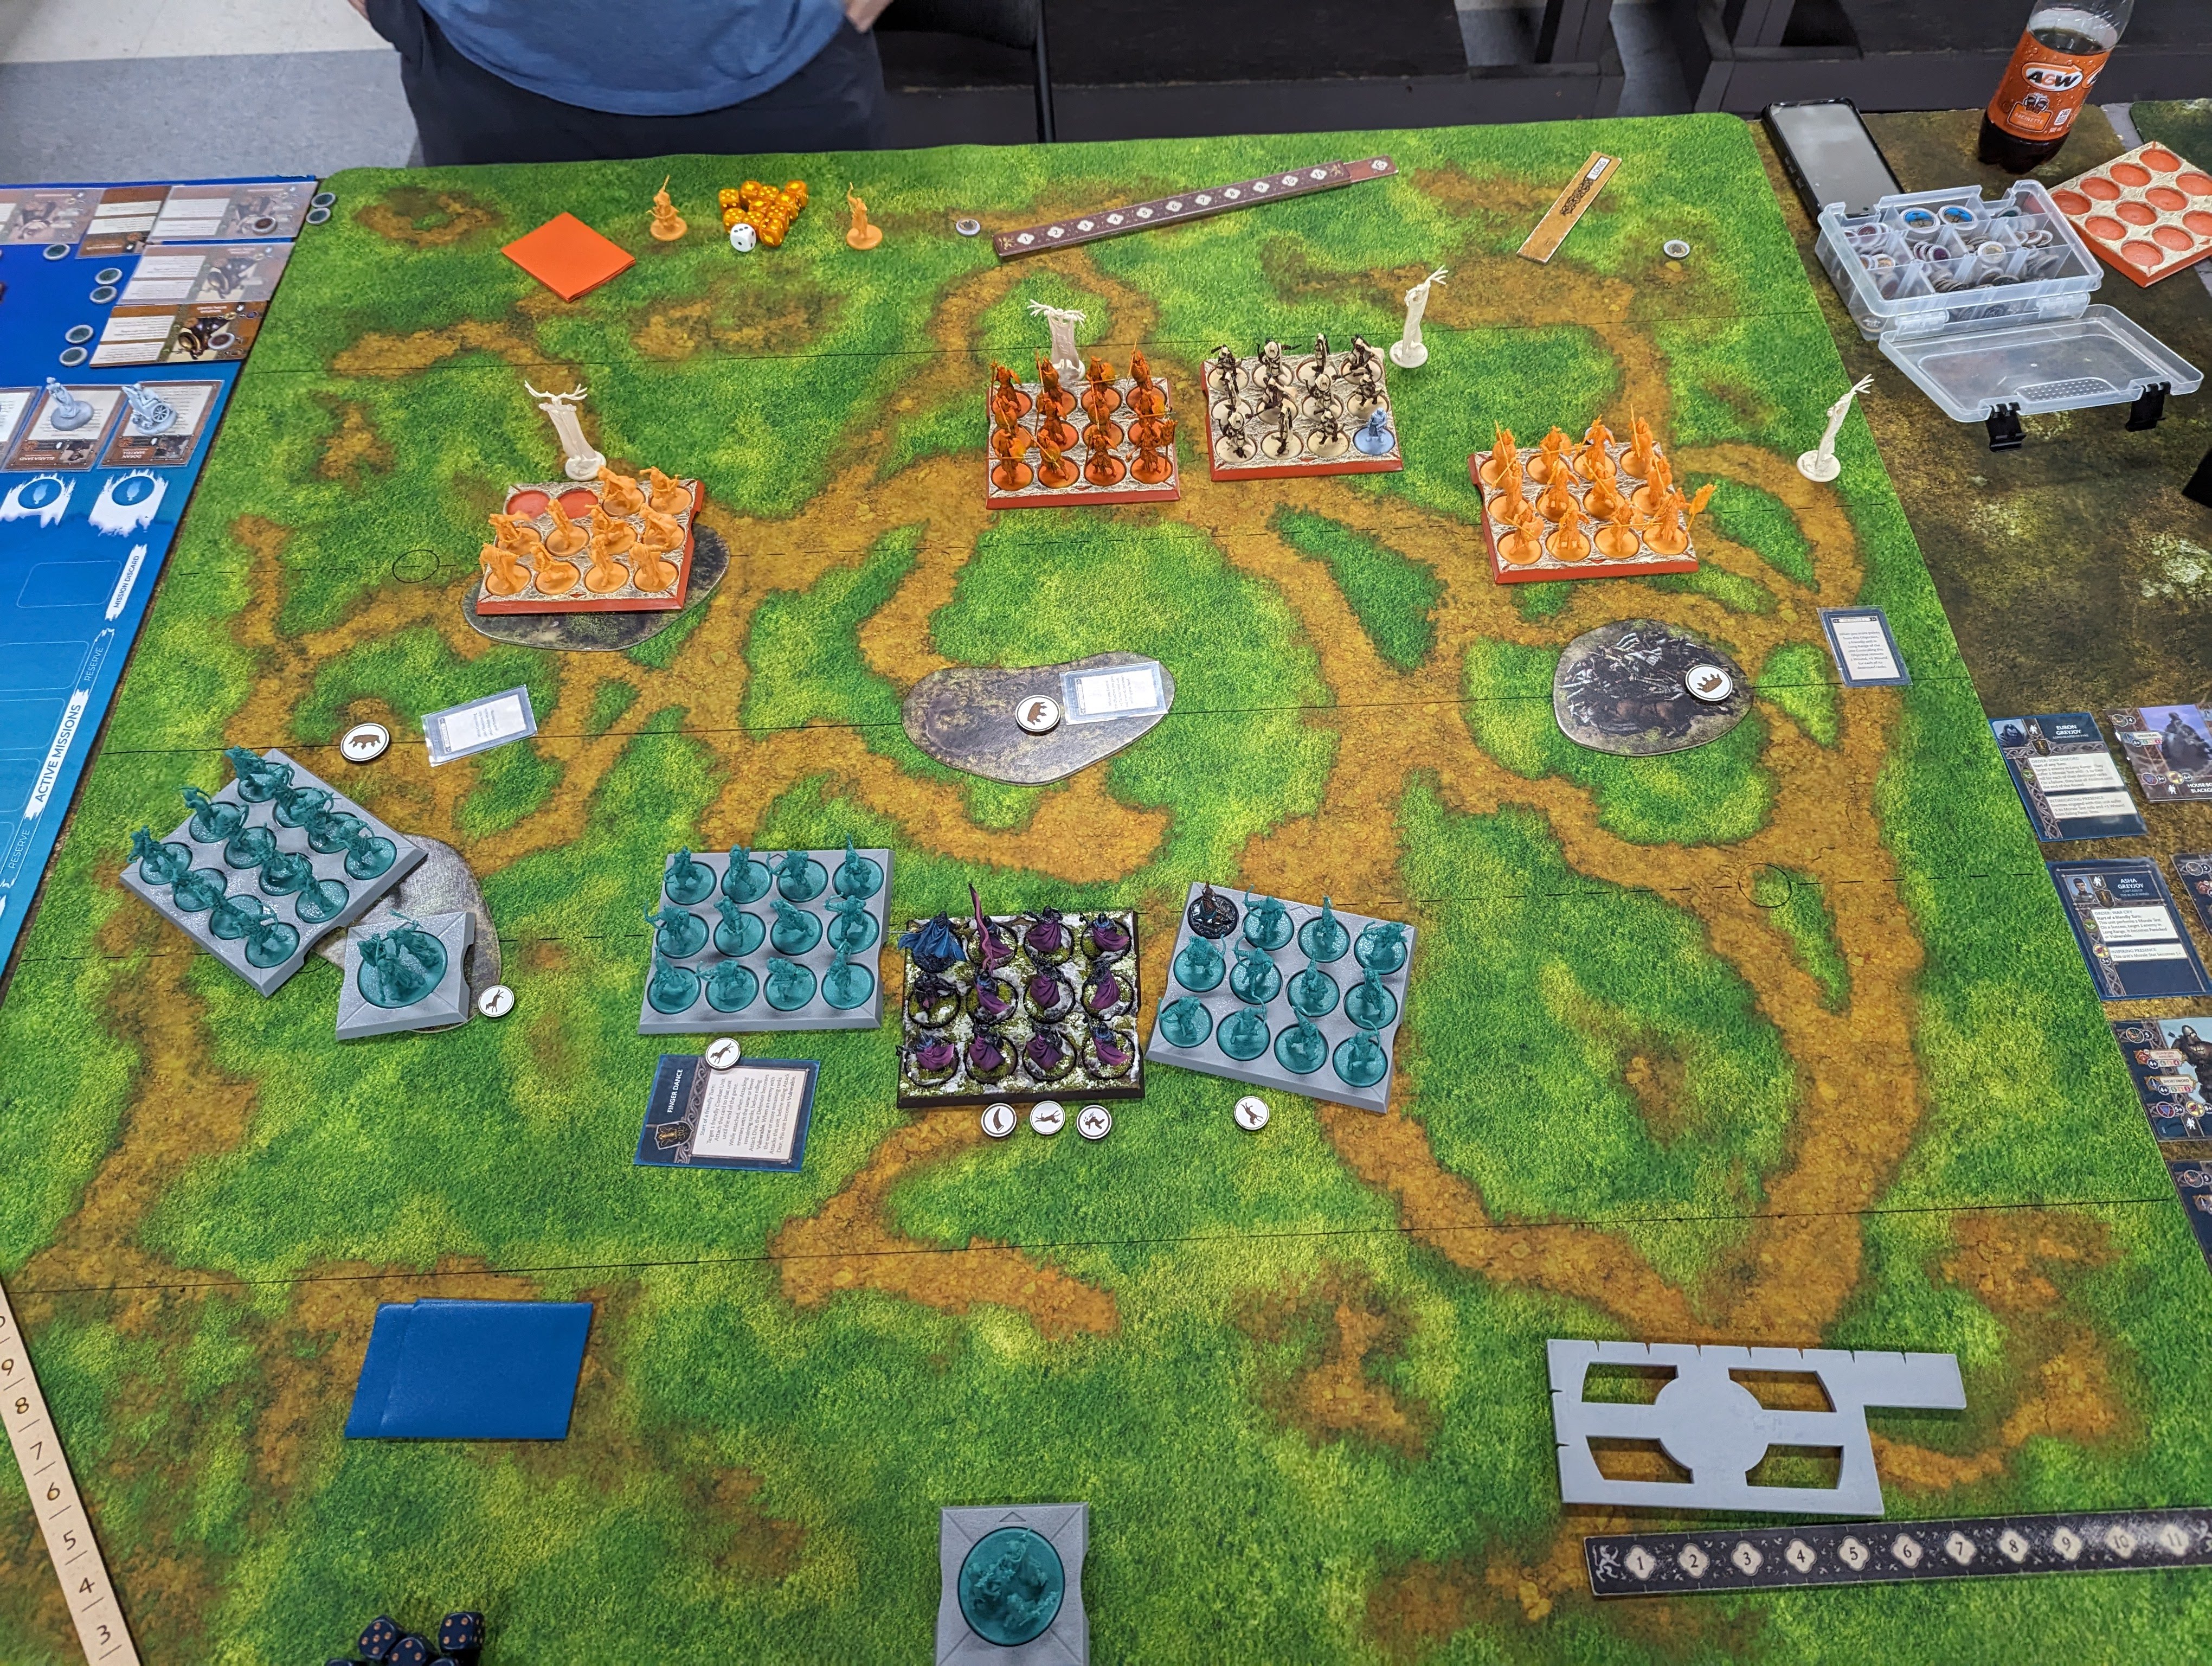
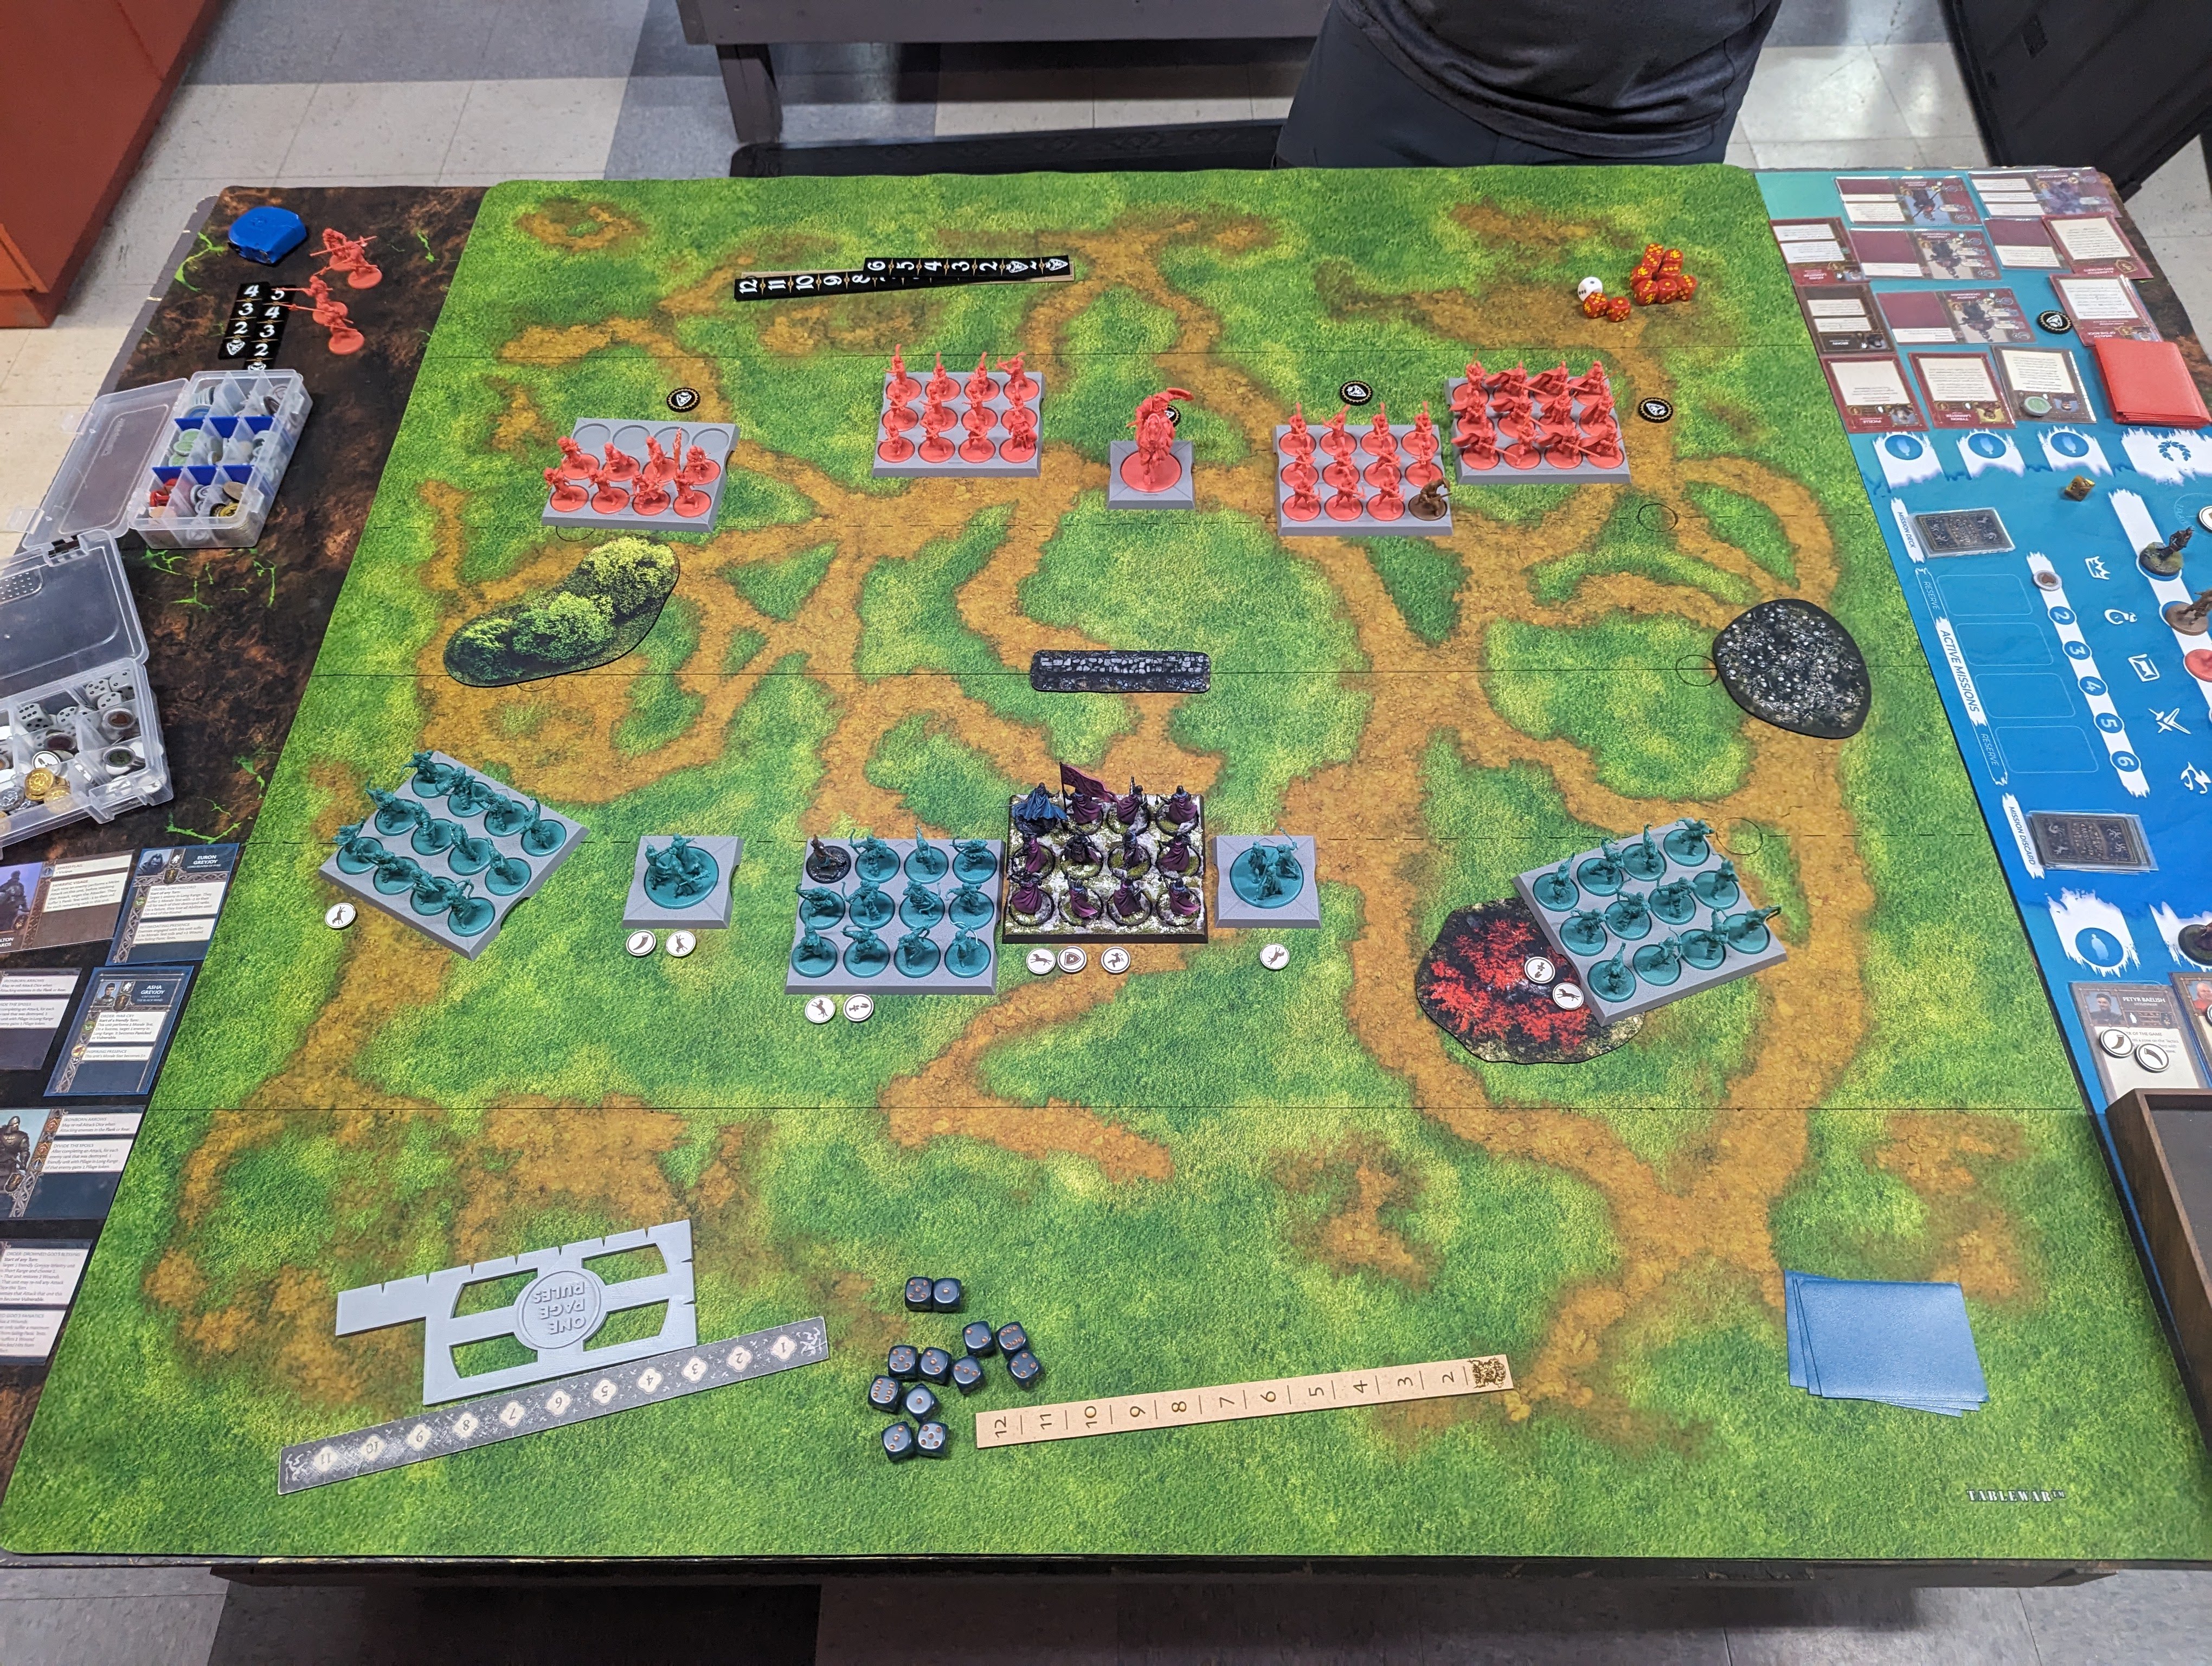
Fergie won the terrain die roll and placed the Weirwood Tree , which I followed up with a low wall over the center objective. Conventional wisdom says we should prioritize owning the center objective in 5 objective modes, and I wanted to make sure that if I ended up going first that I’d have a very secure place to hold it from. If Fergie’s Ironmakers get there first and get a pillage token or two from cards or his Ironborn Bowmen I’m going to struggle to shift them anyway with their strong armor saves and the Greyjoy healing tools with or without the wall. If I have the help of that piece of terrain on my Blacktyde Chosen, on the other hand, they can weather charges very well thanks to the wall’s Fortified and Hindering keywords giving them +1 to their armor saves and denying the charge bonus.
If Fergie’s Ironmakers grab the center, rather than charge onto the wall myself, I will probably maneuver such that he would have to leave the terrain piece to engage any of my units. The Wall is a great piece of terrain but in some ways it can be a double-edged sword. Charging off of it bestows the same penalties as charging on to it, so if your opponent grabs the wall you placed, make them choose between scoring or making a weak charge - don’t opt in to a toe to toe fight, because if your charge has no impact (and with the wall buffing a sturdy unit, it probably won’t) you’re probably going to lose the engagement.
The next piece of terrain to hit the table is the Bog. So far, there’s a strong easy to hold center location with the Weirwood buff, so this Bog is meant to give whoever gets the choice of sides an advantage by slowing the opposing forces down on that map edge. Both of these armies are running all Infantry, and all of it is speed 5, which means that nothing can double march to take the far objective through that Bog. Units deploy no more than 10” from their friendly map edge, and the middle of each objective token is 18” from the table edge. That means from the deployment line to the center of the far side objective is 20”, which means a 5 speed unit positioned correctly can march twice and take control of an objective on the far side of the map. The Bog makes each march 9”, which will bring you up short unless you commit more resources - like taking the Horses for a free Maneuver, or using a Wendamyr token for a 3” shift. Those are both pretty important resources, which means anyone opting to spend them is giving up an advantage that’s more than just an activation of their Bowmen or Drowned Men to take and hold that objective if they’re deploying on the Bog side of the map.
Now there are two scenarios to plan for: winning the die roll and letting Fergie choose sides while I take first player, and losing the die roll, where I will end up choosing sides but possibly not getting to go first in Round 1.
In the first case, I don’t want to put a piece of useful terrain on the side opposite the Bog, because then I am giving my opponent a good position and myself a clearly worse one. My #1 priority is being the first person to get to the middle objective if I can. If I can’t, I want a clear lane to push forward and take one of the ‘safe’ side objectives on my opponent’s side of the table. The Bog makes doing it on that side difficult already, so I decided that the best case scenario was to put a Forest down on the same side of the table, near the edge opposite the Bog.
The Forest here is to give the Drowned Men a safe spot to stand where they can’t take stray shots from Fergie’s Bowmen, which might force me to spend resources healing them to keep them from dying to the wall shots, or depending on how deployment goes, a place that my bows can safely pew pew at his units without being shot back. Looking at this photo now I probably should have had the Forest a little closer to the middle, so that was just a mistake.
Anyway, I lost the next die roll, and Fergie deferred, so I got to pick my prepared side of the map. My first unit to go down was the Chosen, and he mirrored with Ironmakers. Next I placed the naked Bowmen, and he dropped in his Chosen + Qarl. At this point I just decided to build “away” from him, because now there are 2 very killable units of Bowmen left, plus his Drowned Men, and if he decides to try and contest this side of the map I will probably kill something in short order and be able to leverage an activation advantage into a win.
Fergie chose to tuck his second Bowmen in behind his lines. I personally have never had a ton of success doing this with ranged units, because so often it means you’re not covering significant space on the board as you kind of blob up as you advance. It gives your opponent a lot of good options of where to set up on you. The other problem with his exact positioning of that tray is that they can’t move until all three of the units in front of them have gone elsewhere, so they’re just stuck back there until way late in the round, which means I don’t have to worry too much about his possibly snagging swords early on for a cheeky attack after a march. I think for putting a long ranged unit in the back to make sense, it needs to be more centrally located, and it can only have one other tray blocking the path forward.
We drew our hands and Fergie decided to let me go first. So at that point I am thinking that his plan must involve getting his shooting units into position to soften the Chosen up before charging them in Round 2 to stop me scoring the zone early while he sets up on the Bog side objectives, before bringing in his Chosen to actually help kill my stuff. If your plan is “murder the other guy”, going second is a pretty common choice.
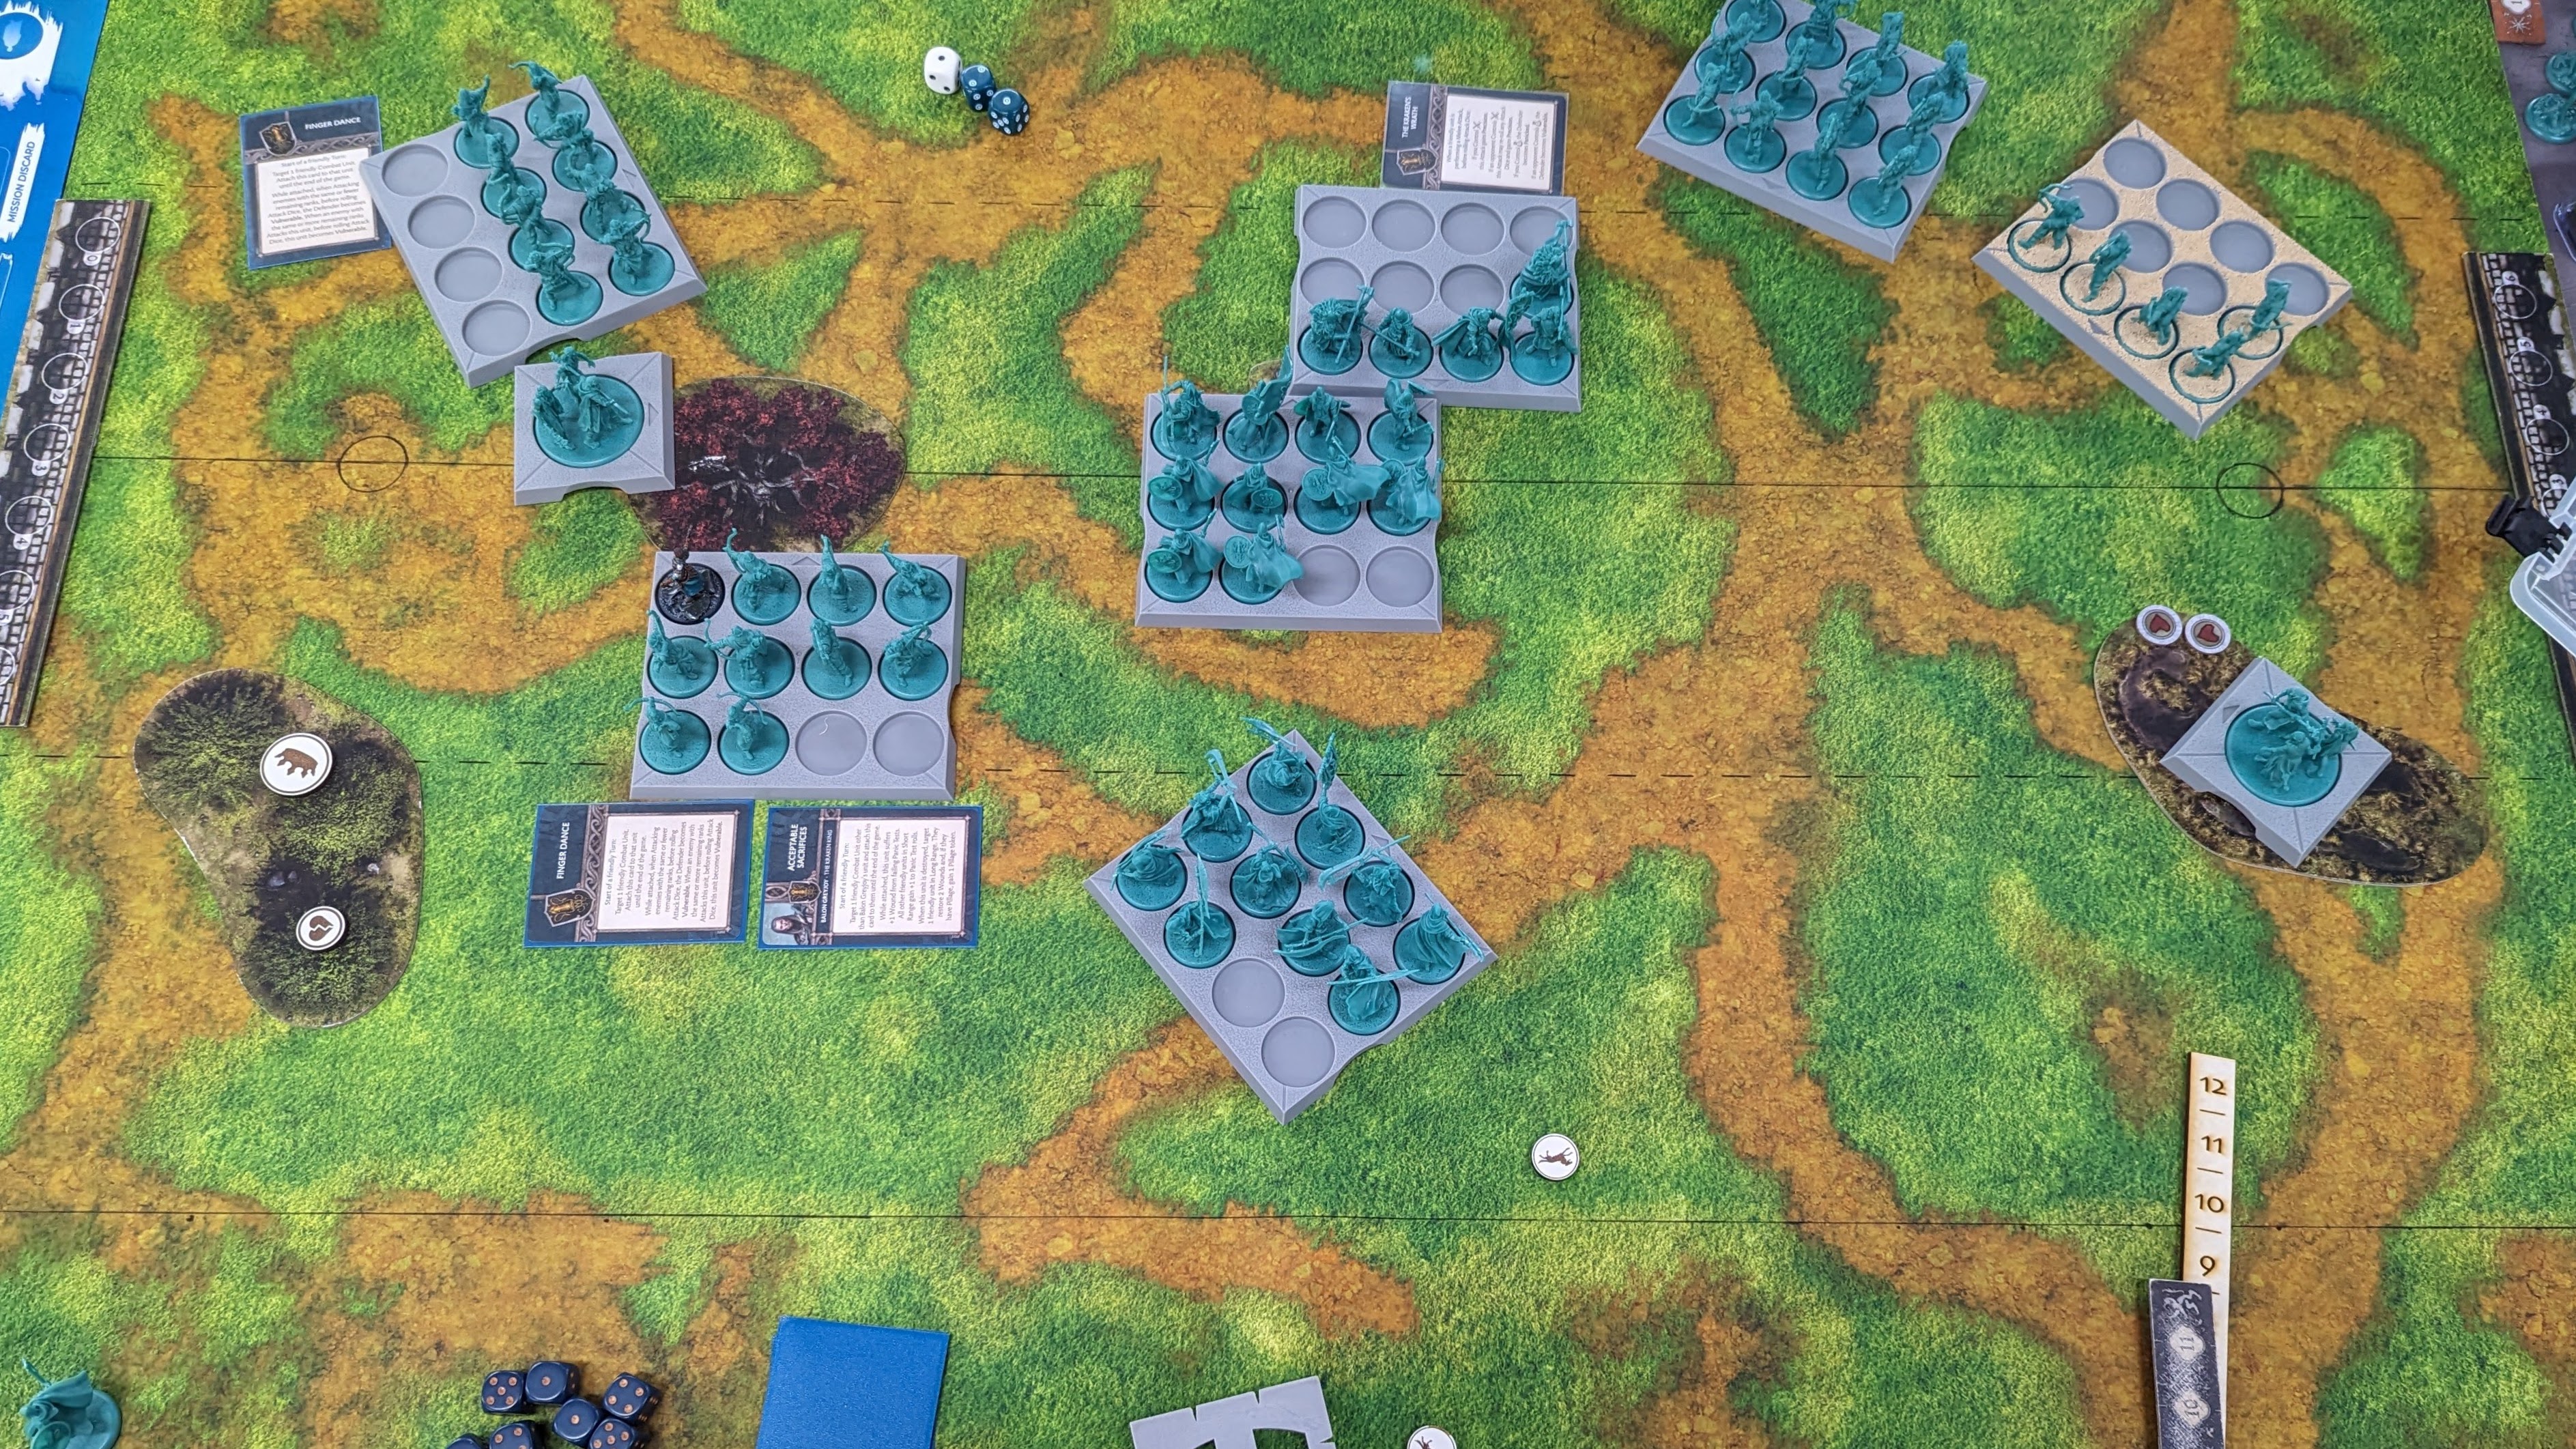
So I lead with Beron on the Horses and influence then advance with the Chosen. We then jostle for position on the tactics board until Fergie passes with Rodrik to make sure there’s a zone left for Wendamyr to replace. Then I march out the Chosen taking center. Wendamyr shift and a march gets the naked bows way out toward the far side objective, and the drowned men end up on top of the Forest objective. Asha and the Reapers finish their marches right next to each other just behind the Chosen. By the end of the round Fergie’s Ironmakers are staring down my Chosen, and his Chosen are in position to charge mine in the flank, ignoring the wall when I won’t have Beron out to mitigate the damage.
In Round 2, Fergie opens with his Chosen on a flank charge into mine, which does a decent amount of damage. I put Beron on Horses, influence the Chosen, and retreat 1”. Ironmakers charge, picking up their first Pillage token, but I survive that. I use Wendamyr’s second token to push my Reapers into line of sight of his Chosen and charge. I decided to use Price of Failure here, because I really wanted to maximize the impact of this charge since his Beron wasn’t out yet. The attack and the panic test did 6 or 7 wounds. Enough to be scary, but not quite enough for both Pillage tokens in one fell swoop. So at this point I have my grindy frontliners tying up his, and I own the center objective. The goal now is to pump healing into my Chosen, keeping them at full ranks so I’ll score the zone, while maneuvering to take the objectives I deployed to threaten.
At the end of Round 2, I score three points to Fergie’s one after dumping tons of resources into those Chosen to make it happen. Round 3, my first move is to have Asha War Cry the enemy Chosen and stick a Panic token on them, then put Beron on Swords, influence my Chosen, and swing with Balon in Reapers. This attack nearly kills Fergie’s Chosen, but they strike back after getting a little healing and Fergie opts to take the 1 in 3 shot at killing Balon outright. He rolls the 5, which means now those Reapers really need to get their job done against the chosen and get out. The Reapers’ actual activation pulls What is Dead out of Fergie’s hand, saving Qarl and one of his buddies.
Somewhere in here I failed an “easy” panic test with the Chosen and Beron’s influence fell off, so I took a big hit from the Ironmakers. Raiding Call and some other incidental healing topped the Blacktydes back up though, and I had a really good Finger Dance + Drowned Men assisted attack with Asha’s bows that meant I still controlled the center token. I did end up bringing the Drowned Men forward off of their objective so I’d have them in range to assist the Chosen on the following round, while Fergie repositioned units to hold 2 objectives, so Round 3 ends with a score of 5 to 3.
In Round 4, the Reapers drop a rank to an attack from Qarl through Beron taking Swords to influence him. I have Blessed with Stone, Blessed with Steel and my Reapers are engaged with a unit on one rank, so they heal nearly to full and then explode Fergie’s Chosen with an assist from Asha’s War Cry. Lacking the Fueled by Slaughter and Morale buffs of Balon, I decided to actually back off with them instead of pushing up toward the bows. We smack each other around a bit in the center, and I score 3 to his 2 this round to make the scores 9 to 5. Round 5 there’s just no real way for him to crack the Chosen + Beron’s influence, and even if there were I am too far ahead now to lose unless I make braindead plays like walking off objectives. I don’t, so the final score is 12-7.
So both of us learned a lot through this game. In no particular order, here’s some thoughts.
-
Baelor Blacktyde is simply not very good. None of his cards do anything until your units have taken wounds. Sure, Greyjoys take a lot of wounds, but making that a prerequisite for effects that aren’t extremely good is just not very worthwhile. I have no idea why or how he’s one of the highest rated commanders in this faction currently, considering how much weaker than Balon or Euron or even Dagmer his cards are. Blacktyde Resentment seems like it’s maybe got a payoff worth the setup, but your opponent can just target your unit with Bags, heal one wound, and it falls off. And that’s if they even care to begin with, which they might not, depending on what the board looks like. Meanwhile you’re going to be knocking it off yourself in the course of normal play with this faction sooner or later. Blacktyde Conviction is just absolute trash. Any morale buff that has preconditions like this is just not good enough. Lash Out is fine, but I’ve played enough Greatjon Umber in Starks to know that’s all it is: fine.
-
Ironmakers probably need a little love. At the very least in the rework I’d like to see them have better morale even before the teased faction-wide morale boost for having Pillage tokens kicks in. What I don’t want to see is them keep that 2+ armor save, because frankly 2+ saves are bad for the game. Make them start out as a rare 3+/6+ infantry unit with a 5” move for 7 points that gains Hardened with 2 pillage or something instead.
-
Chosen with Warsworn you almost have to one-shot to kill. They’re pretty good. Give them some terrain to mitigate the first charge they take and they’ll put in big work. It’s even sillier when you’ve got them in range of a Weirwood with a supporting unit designated as Acceptable Sacrifices. Don’t forget to stick Beron’s influence on there too, by the way. How does a 4+/3+ with Resilience and Dauntless sound? Good? Don’t forget it also has Martial Training and hits on 3+. Fun stuff.
-
I hope the Harlaw Reapers hang on to some of the explosiveness of the current version of Reaper’s Fervor through the upcoming Pillage rework. They just smash face so hard. It’s very satisfying getting them into a target with middling morale when they’ve got their Pillage going. It’s possible for them to one shot, which normally I think is bad from a play experience point of view, but because you have to spend resources and time loading up those tokens first I don’t see this as quite so problematic. Opponents have to learn to respect the big spikes of damage they can cause, which I’ve noticed catching people off guard since the S02 update.
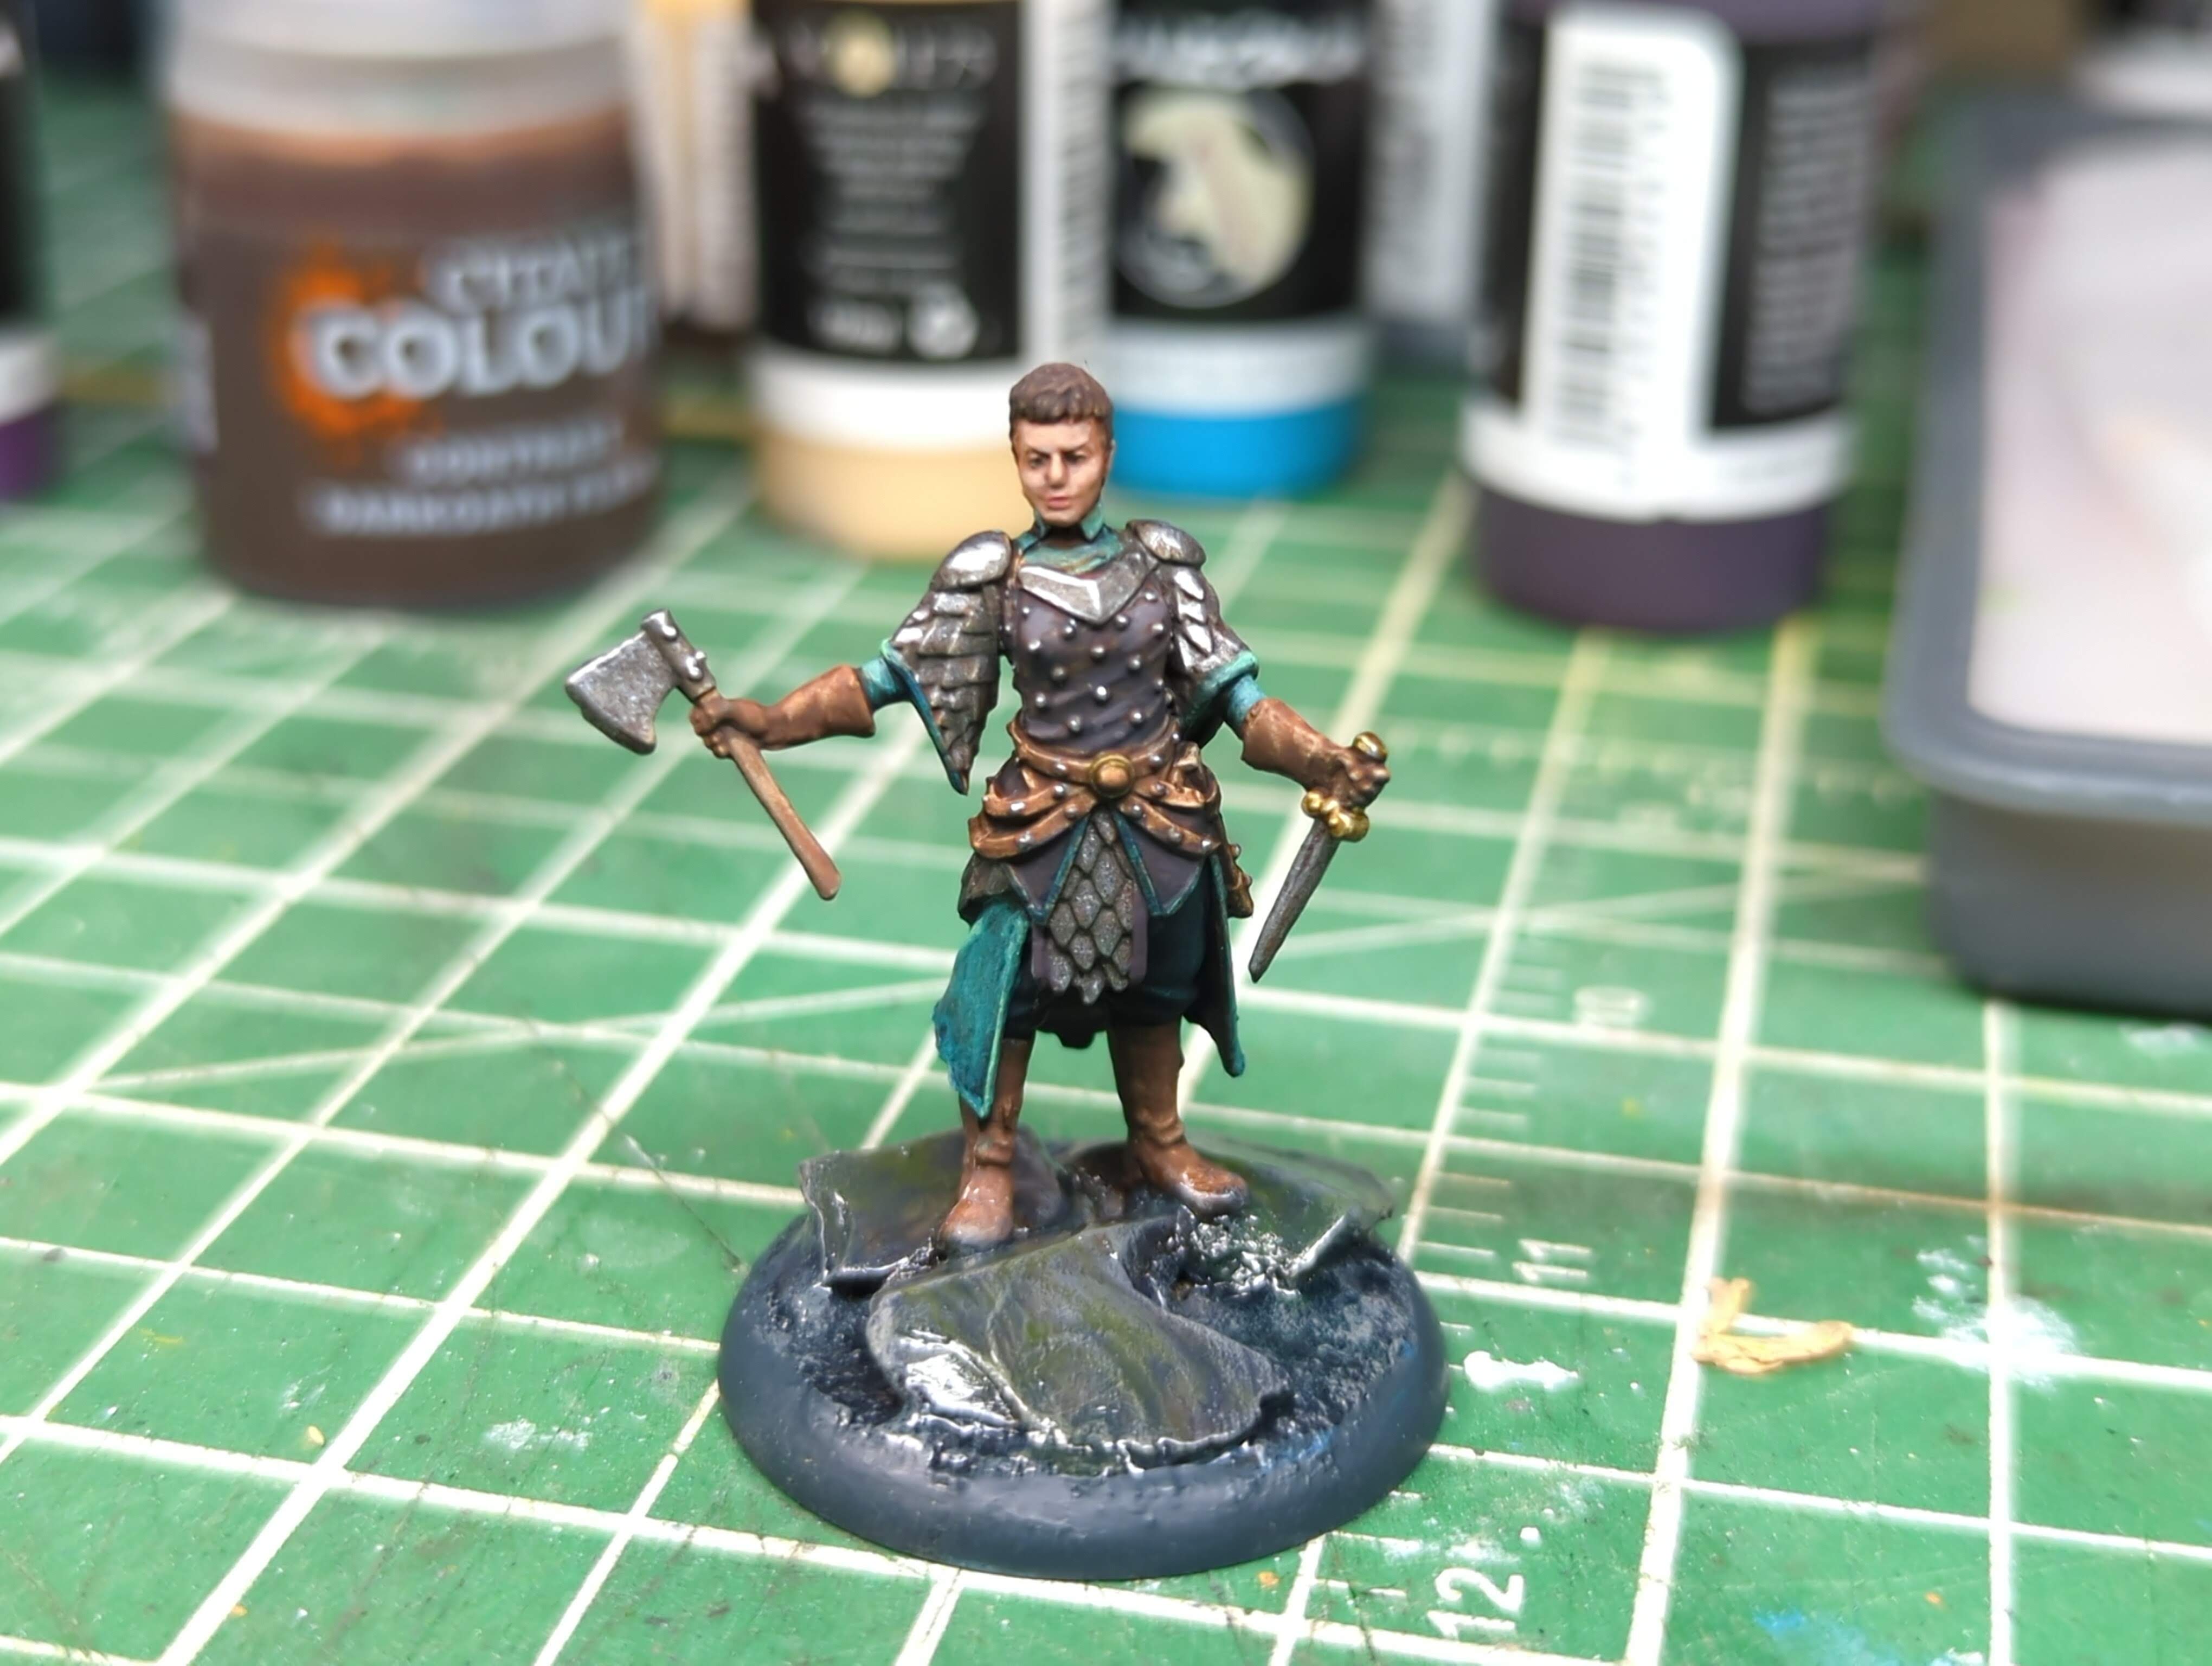
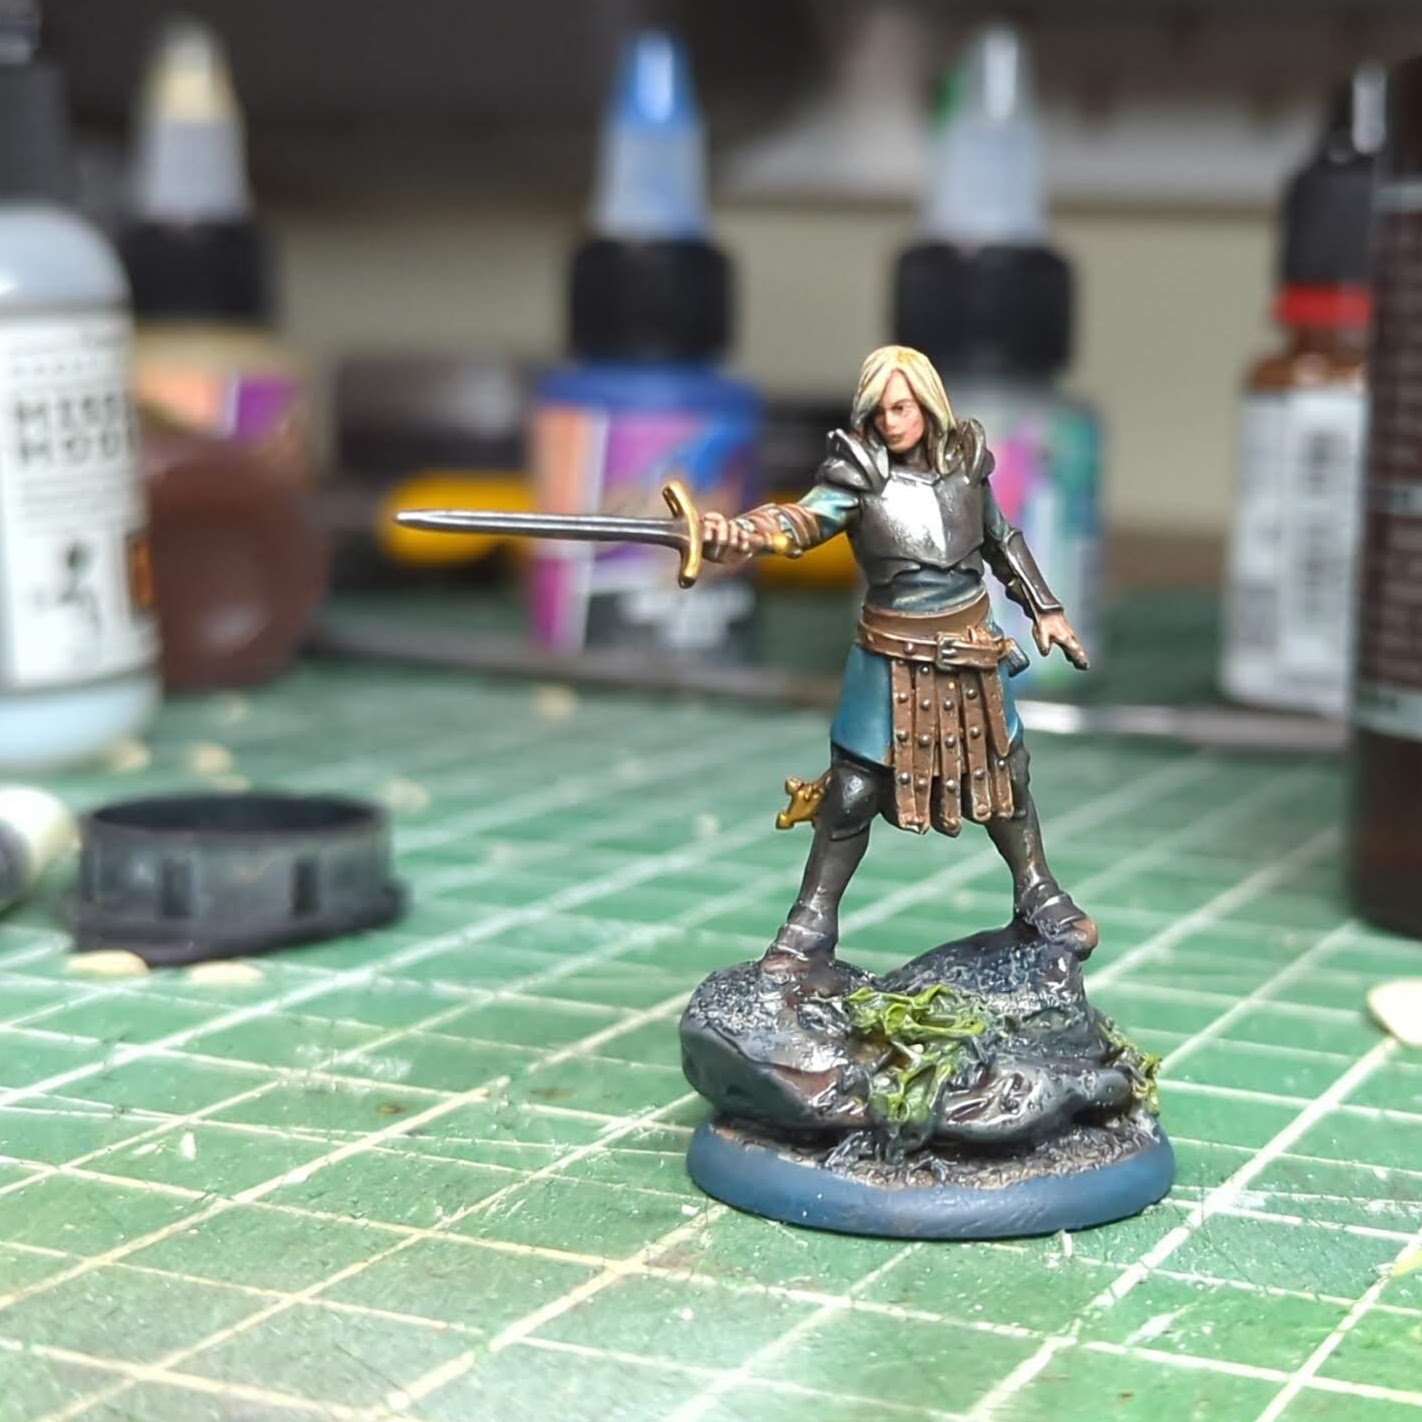
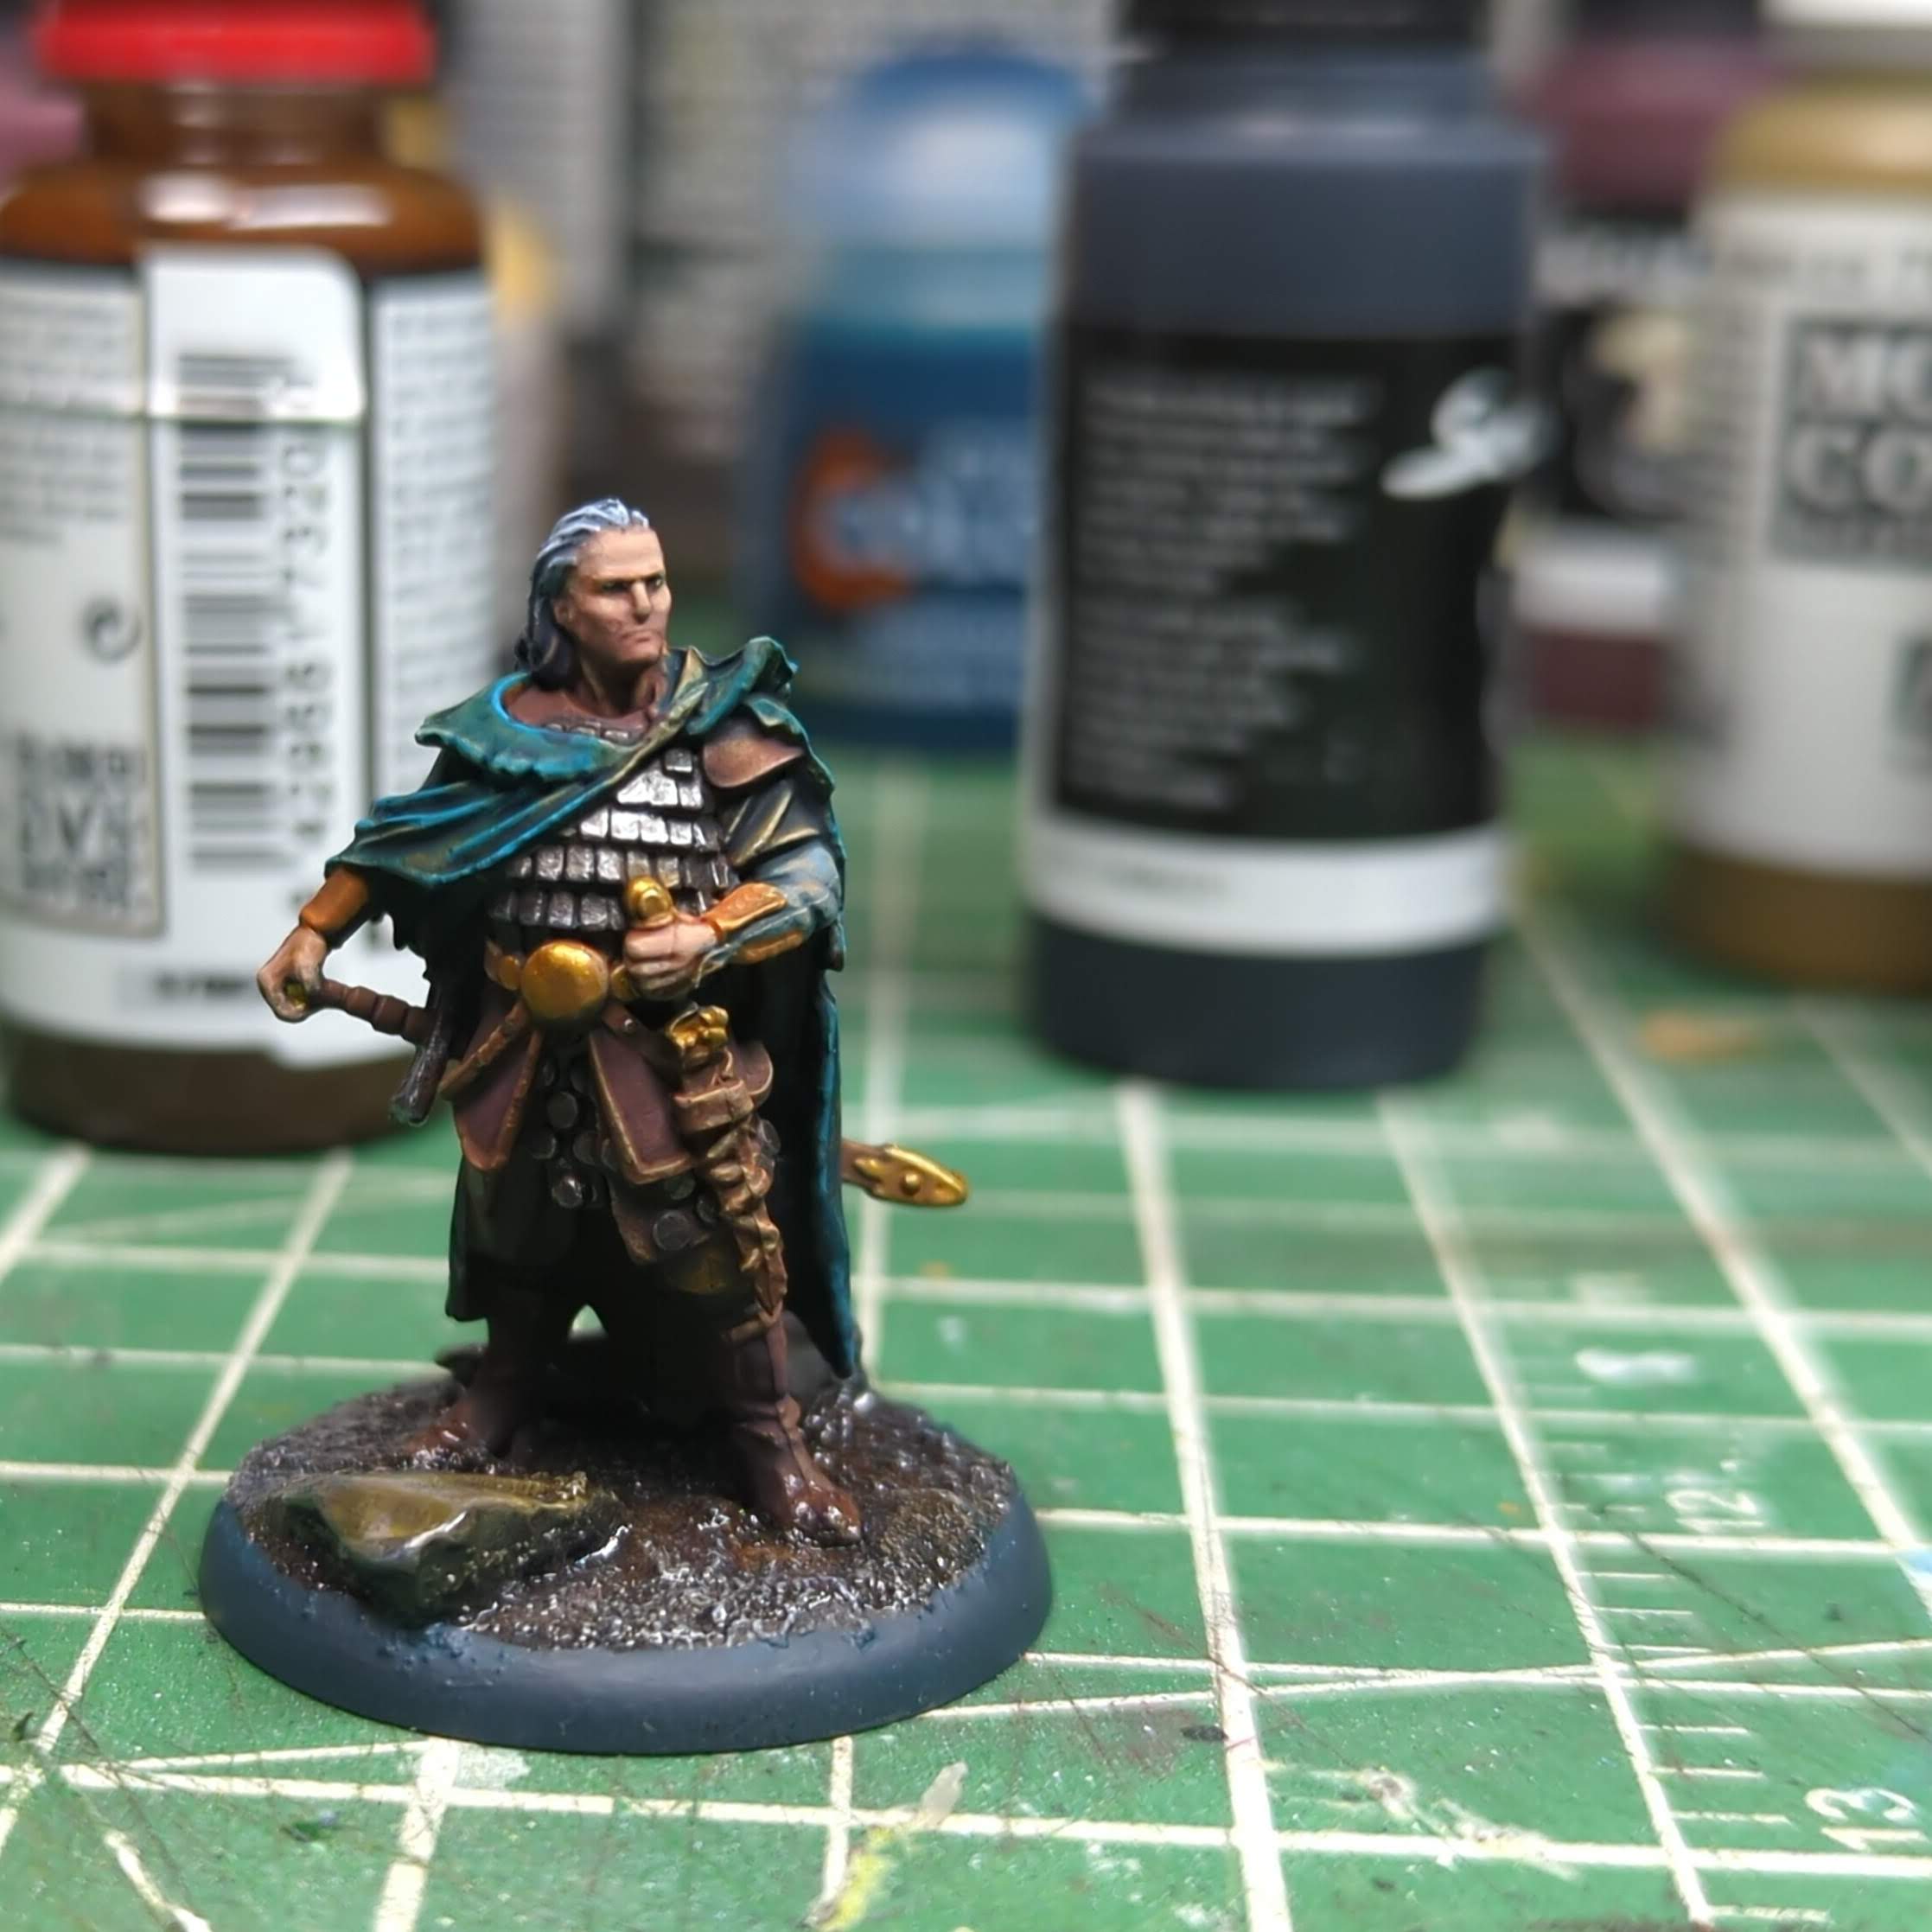
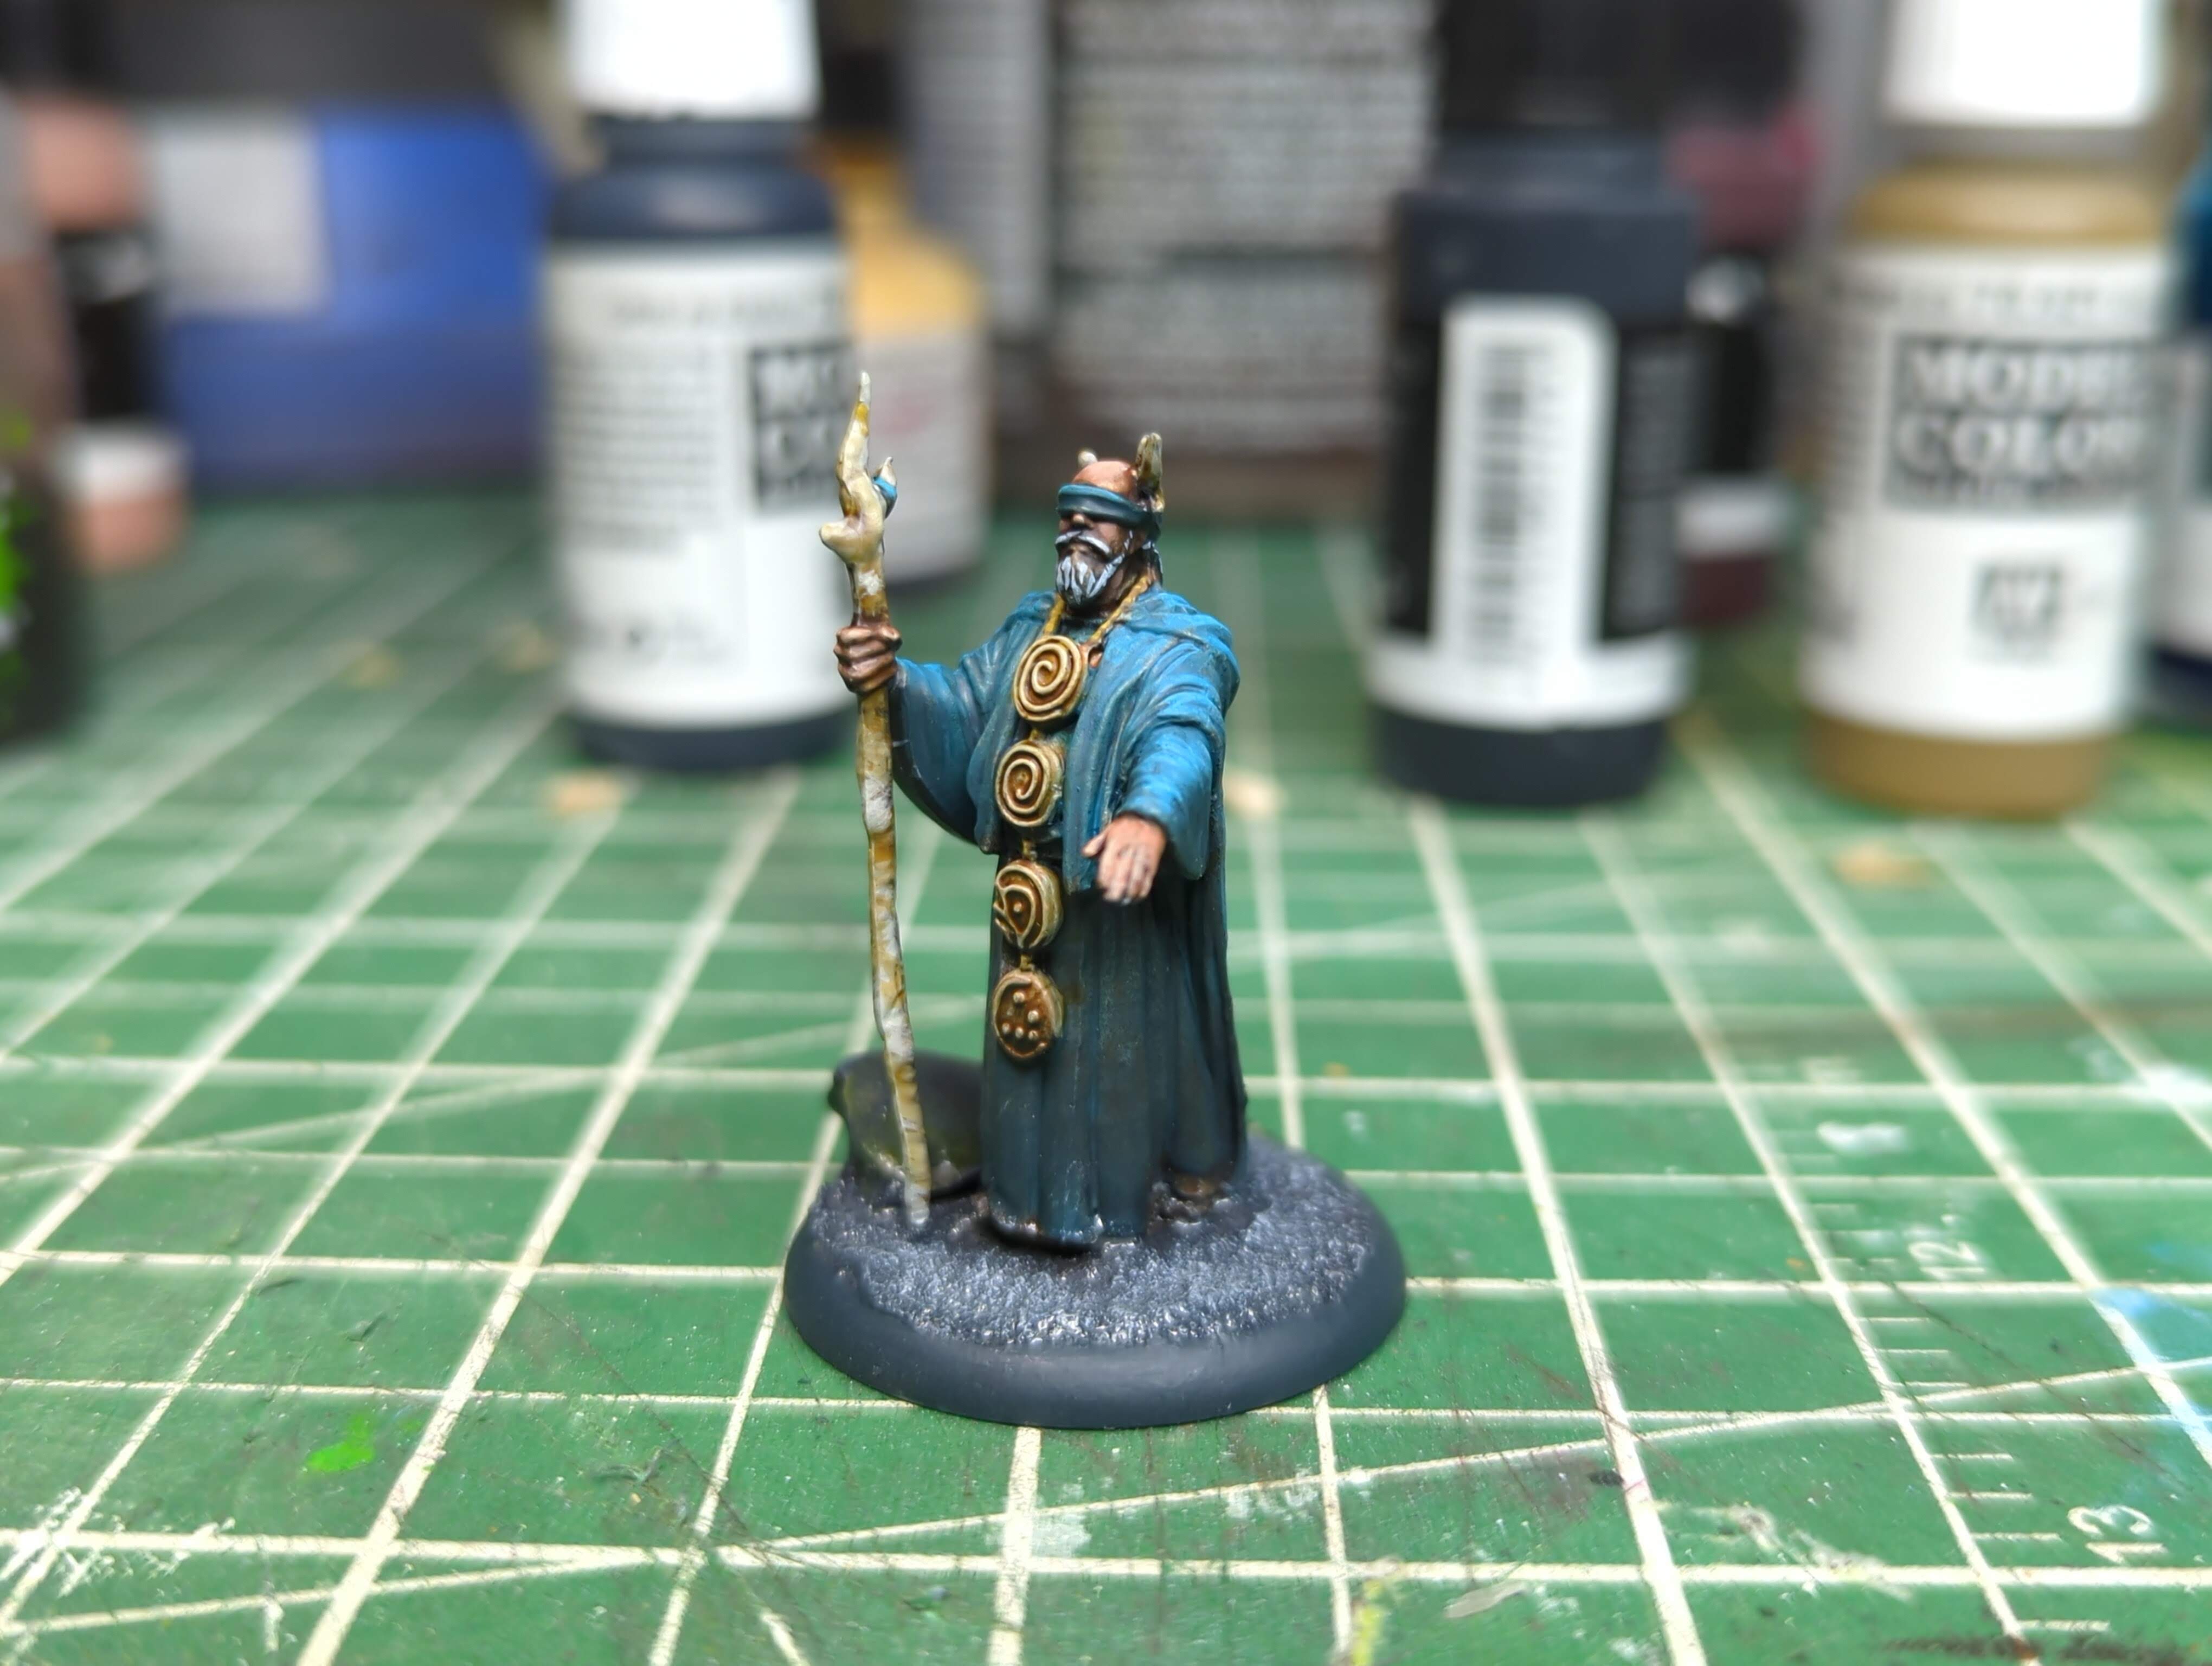
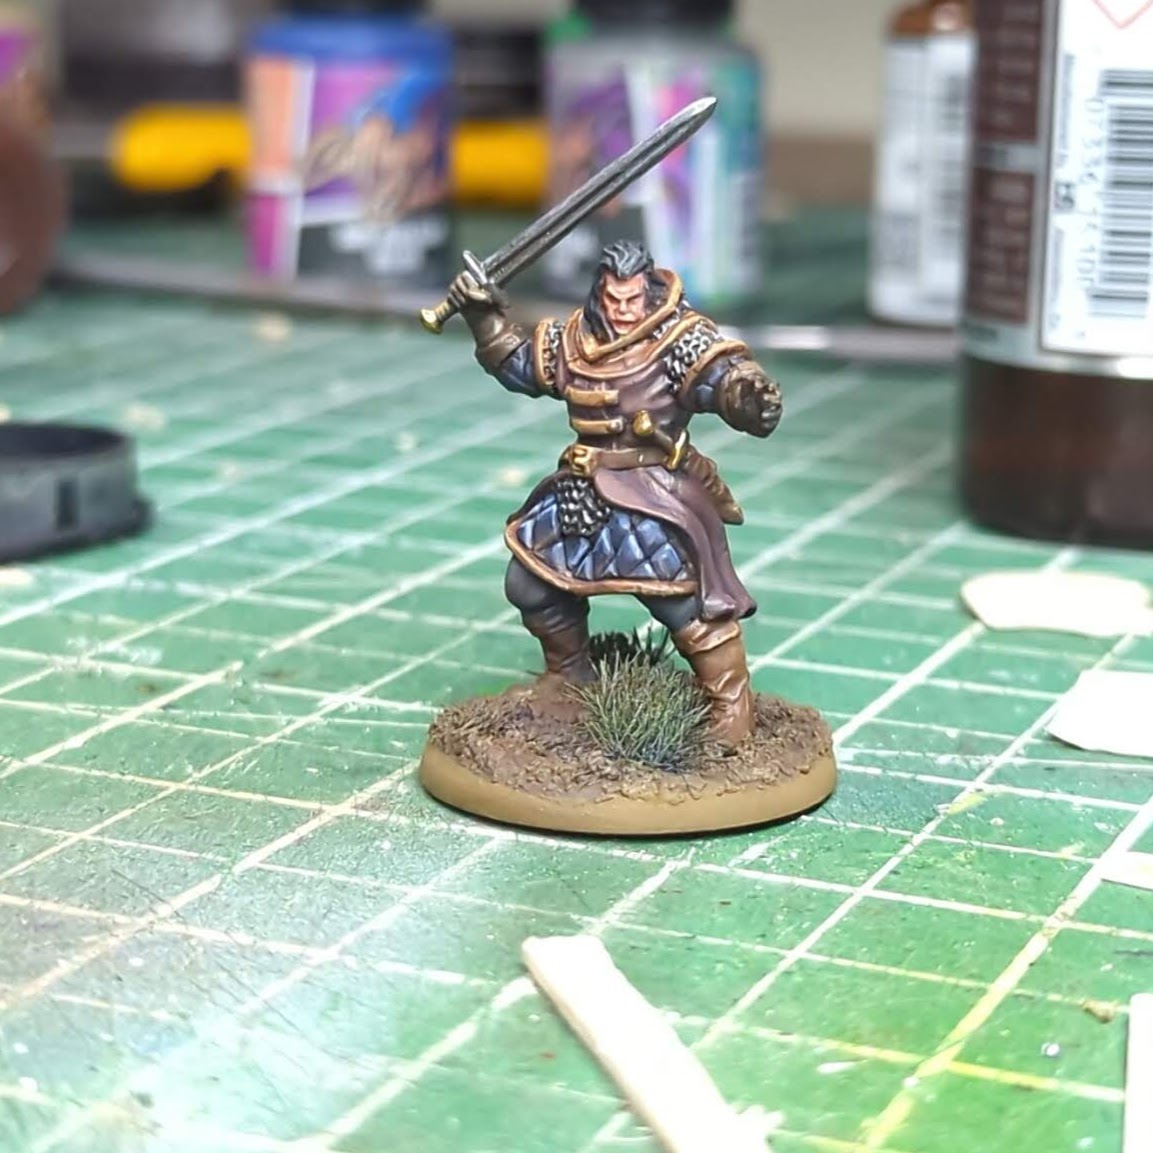
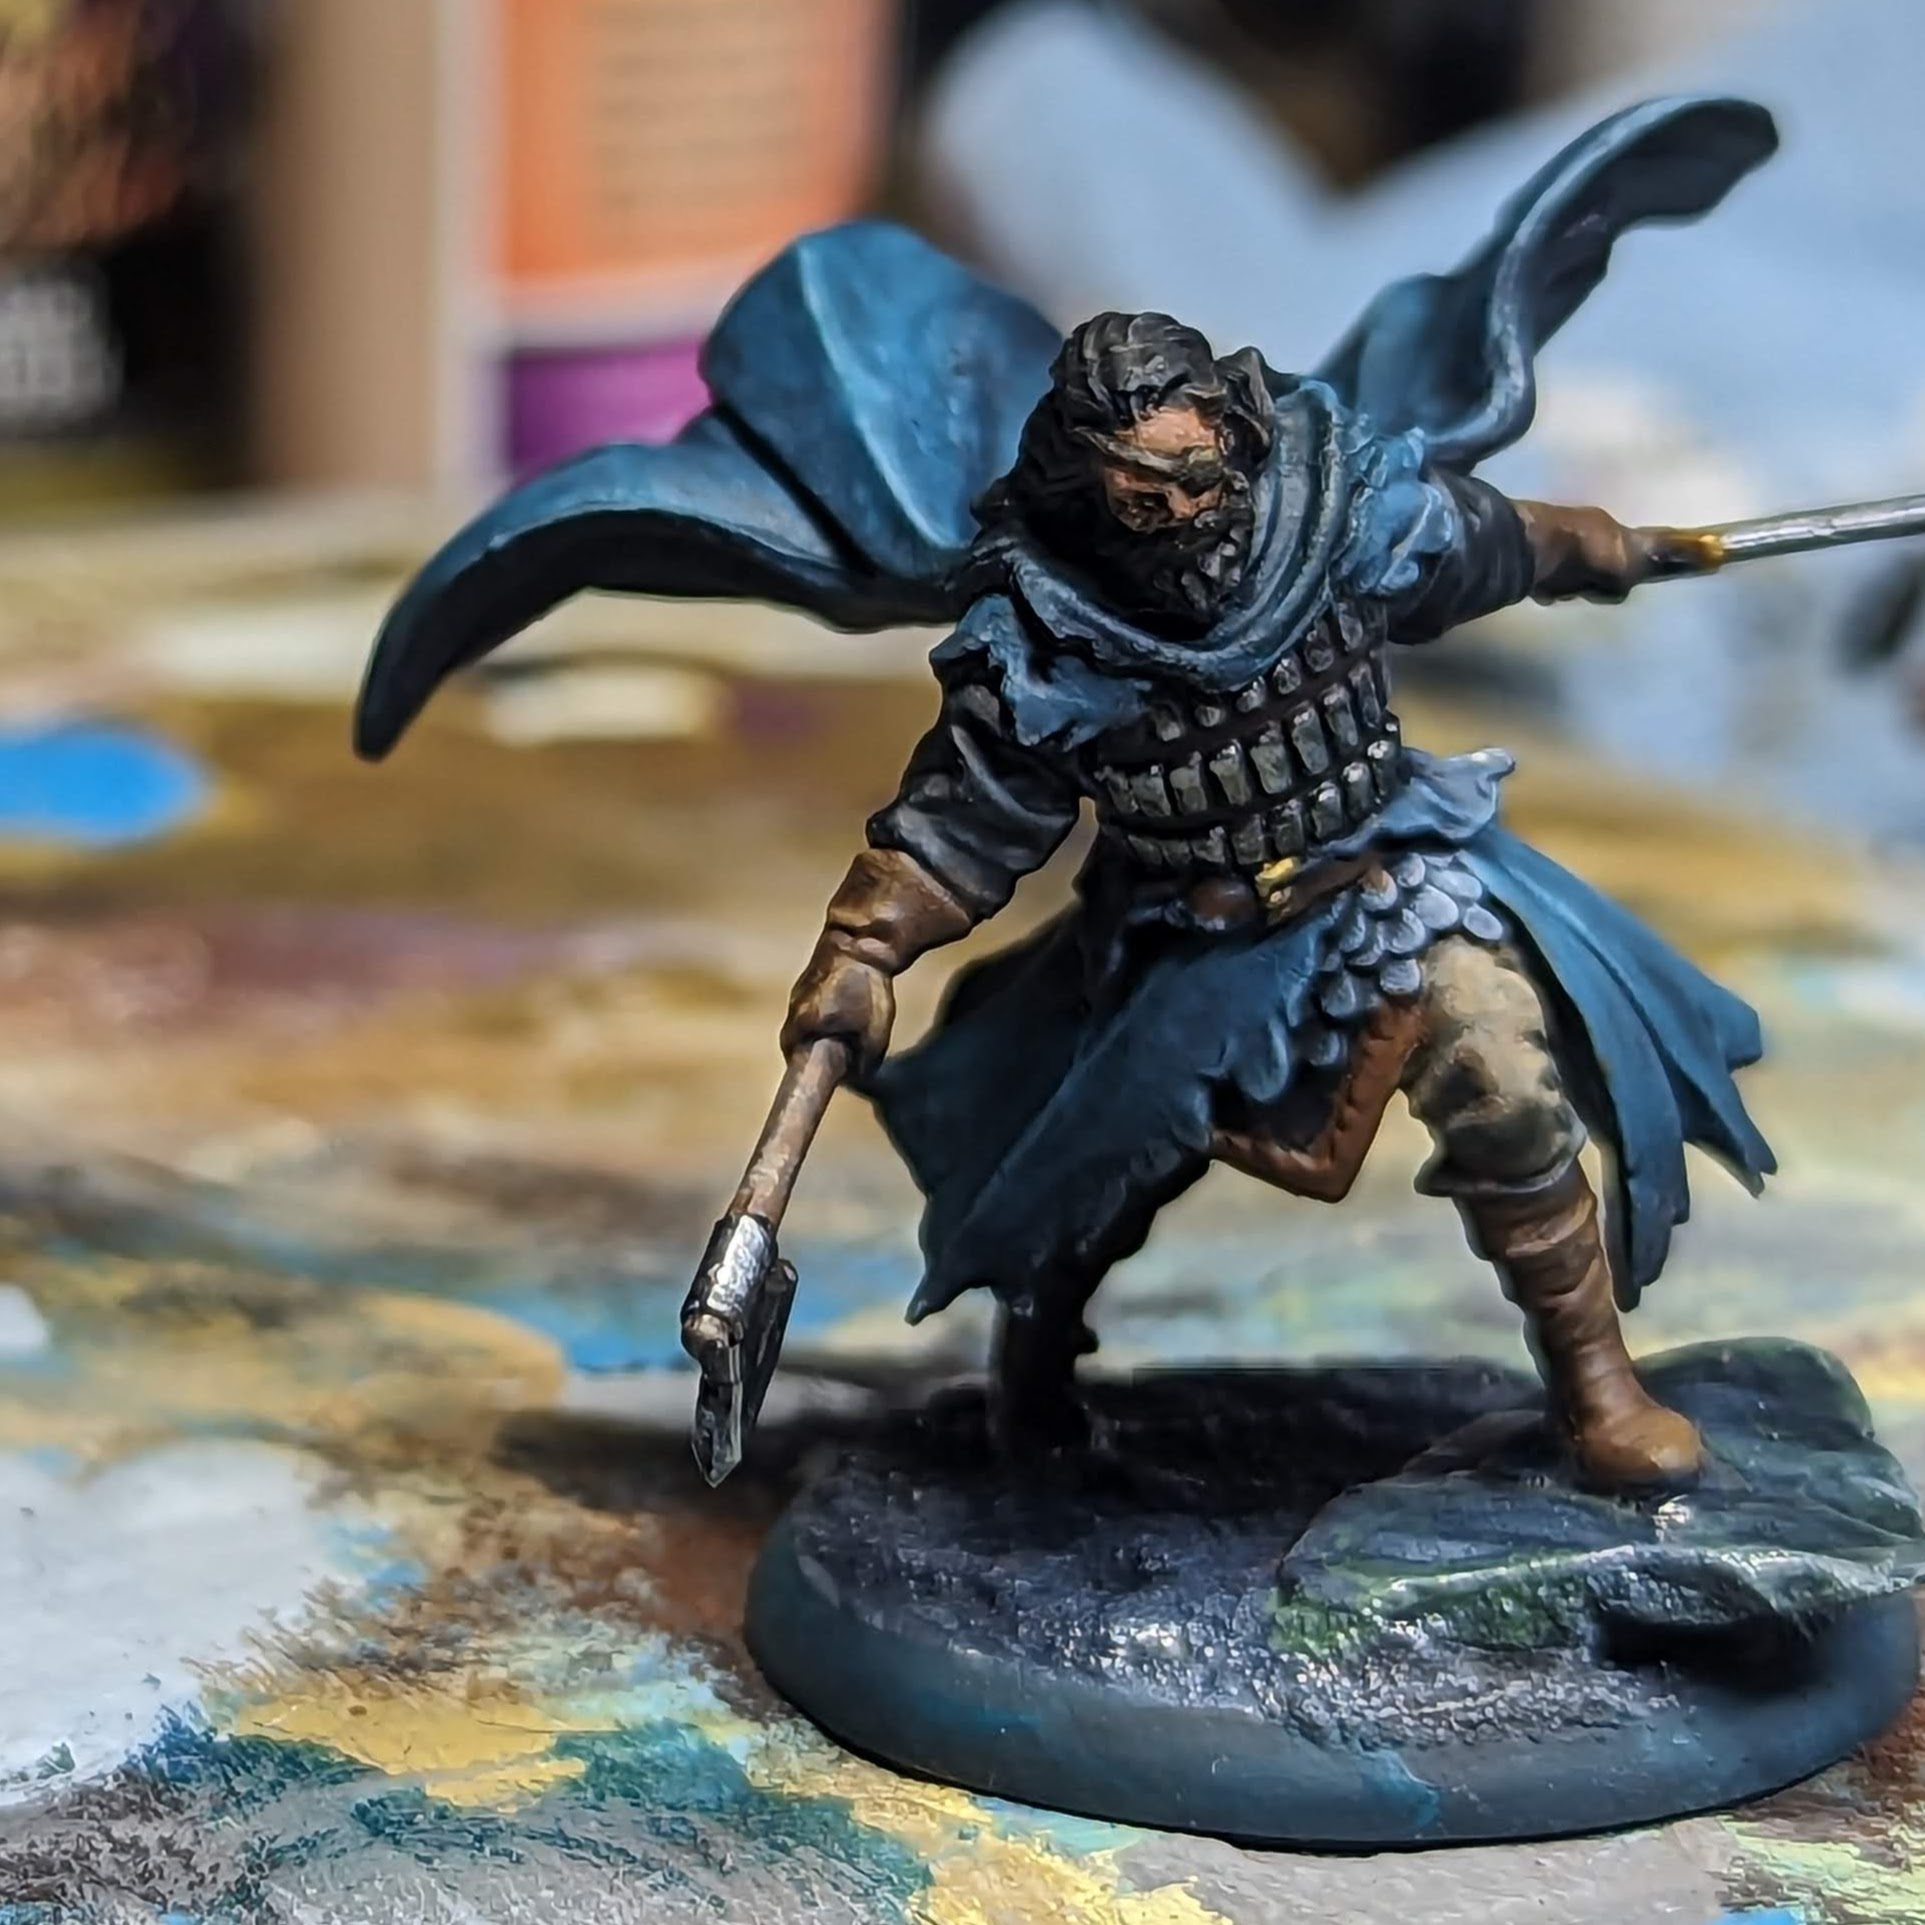
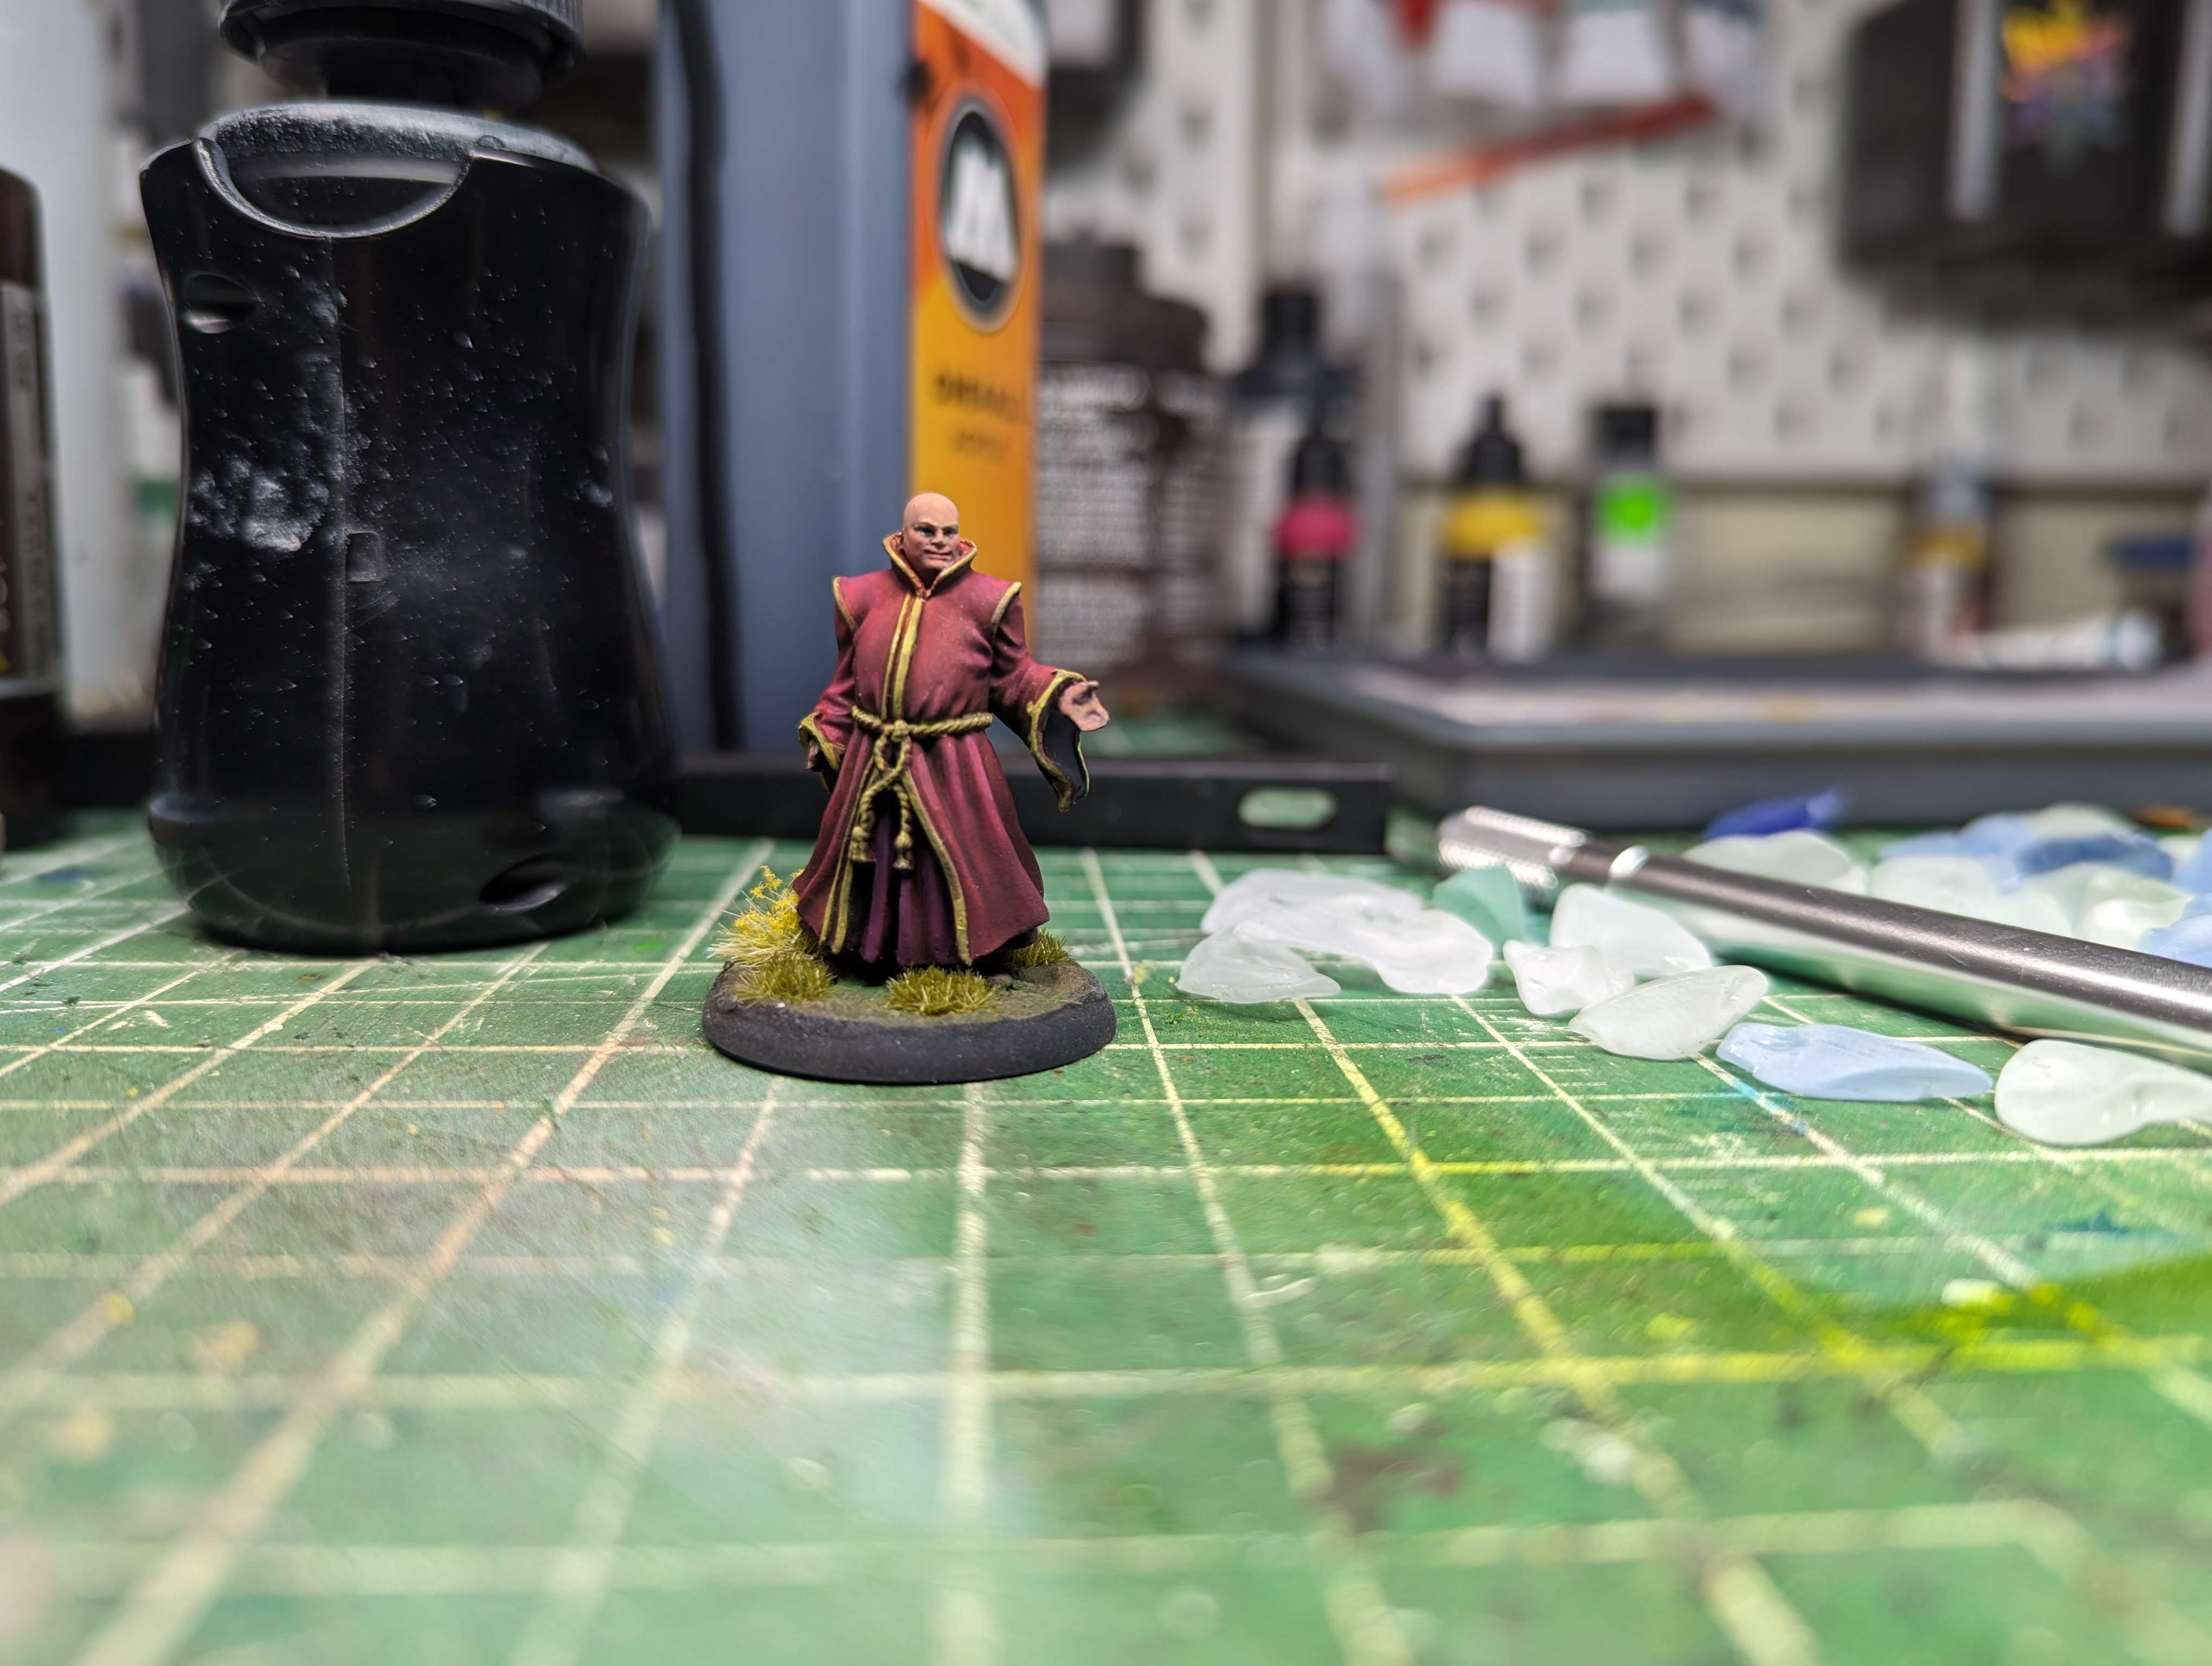
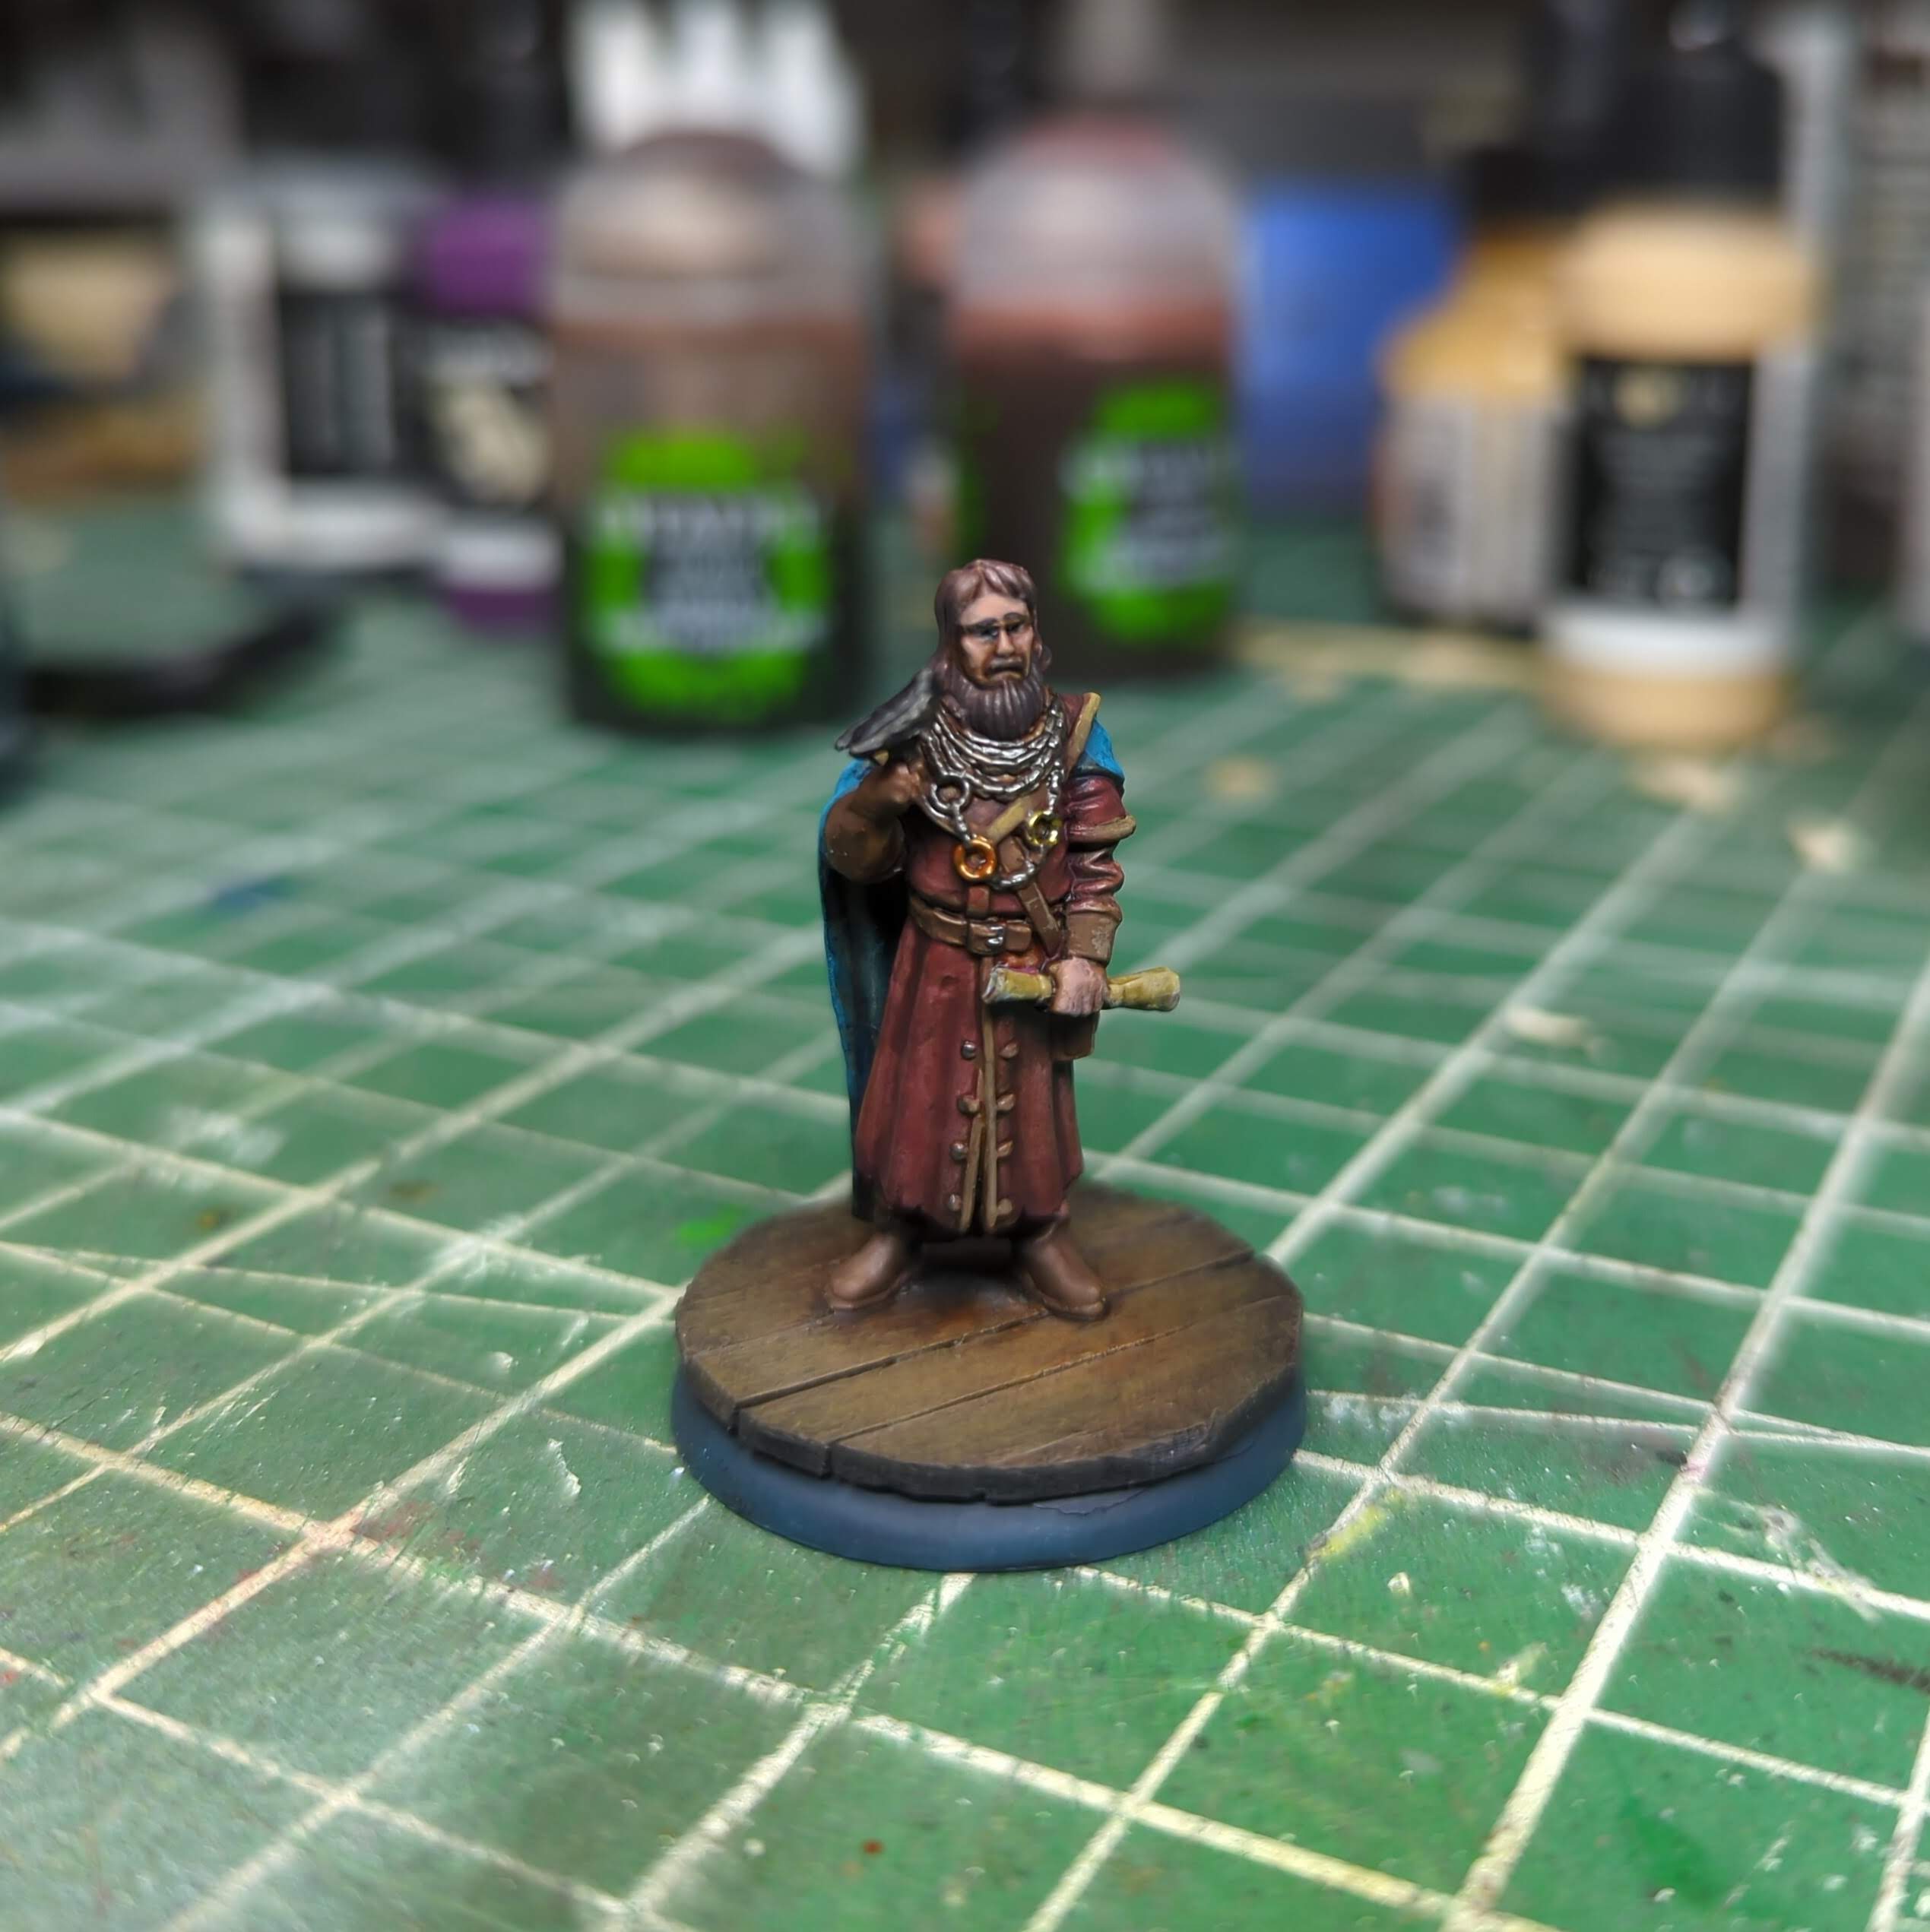
Ok, that’s it for this one. A fun game and a good time with a good buddy. As a little bonus, here’s the named characters I’ve painted up for the Greyjoys so far - plus a couple Neutrals painted in the same general style.
I’ve decided that for this and future ASOIAF factions I am going to worry more about painting the characters than the rank and file. The combat units will get painted, but when I am good and ready instead of being in a rush just to field a painted army. Enjoy!
